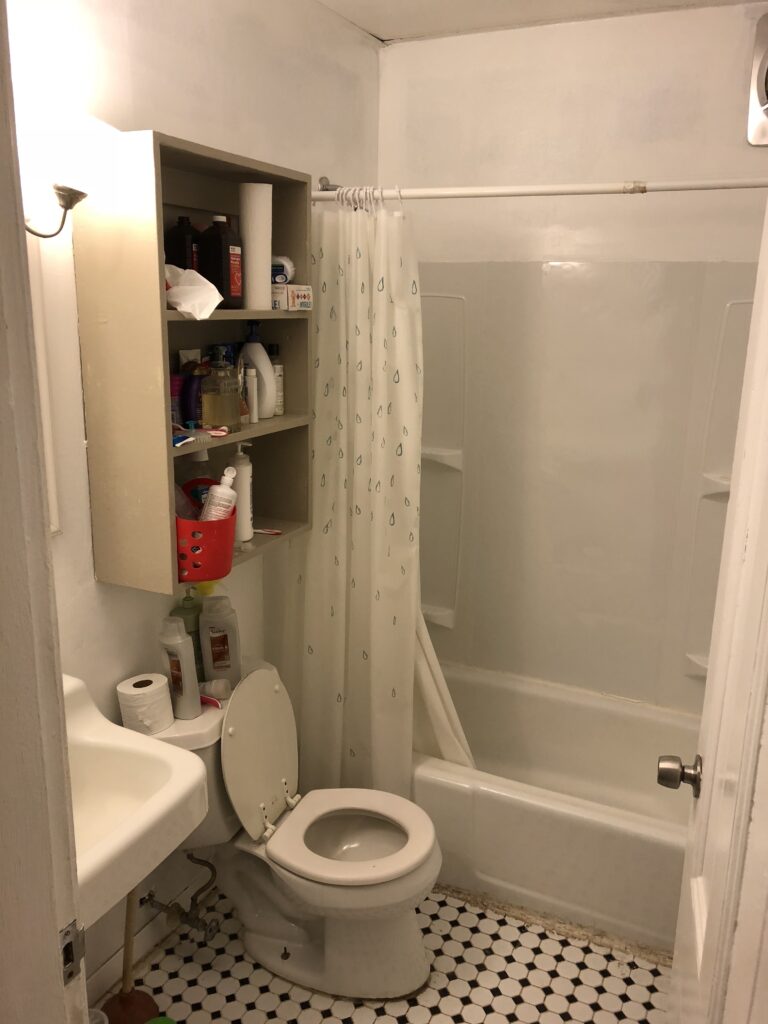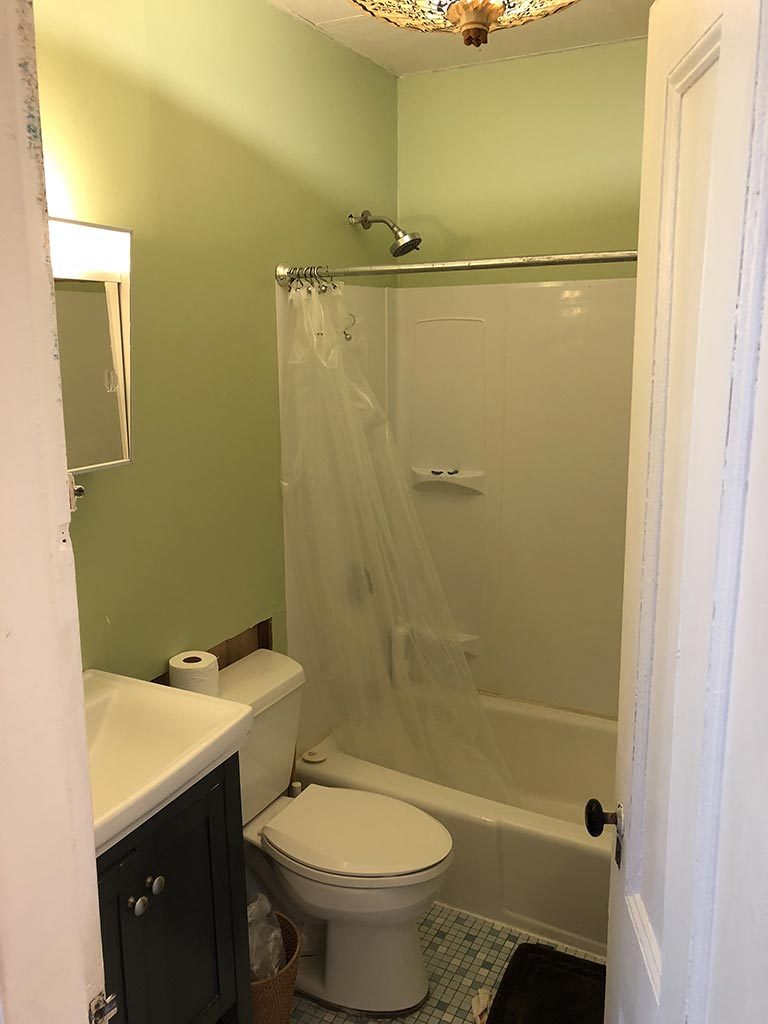
Before:
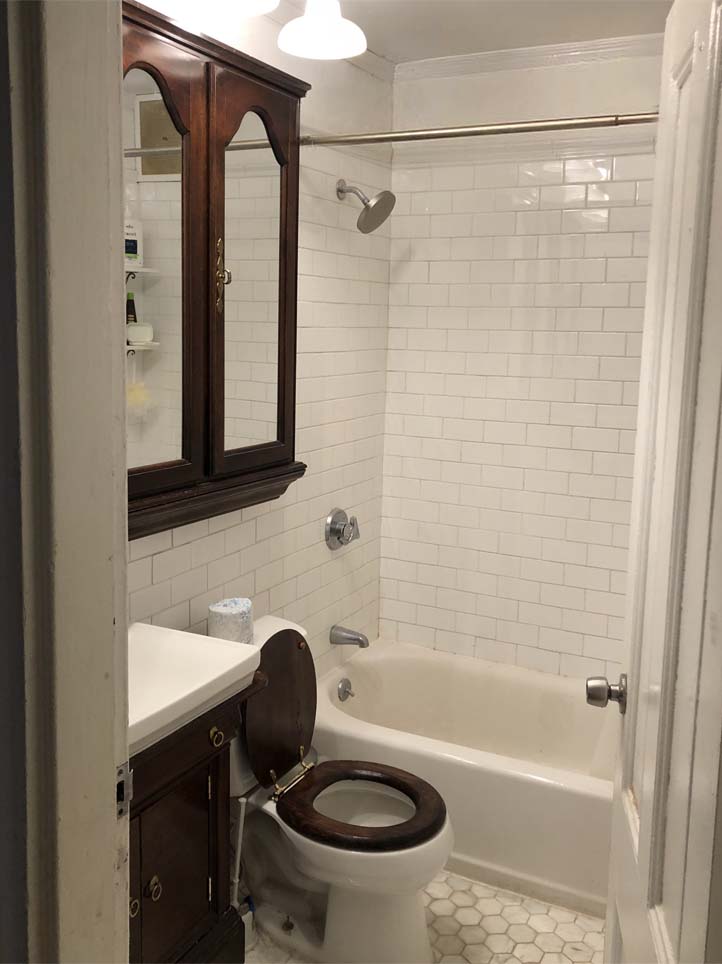
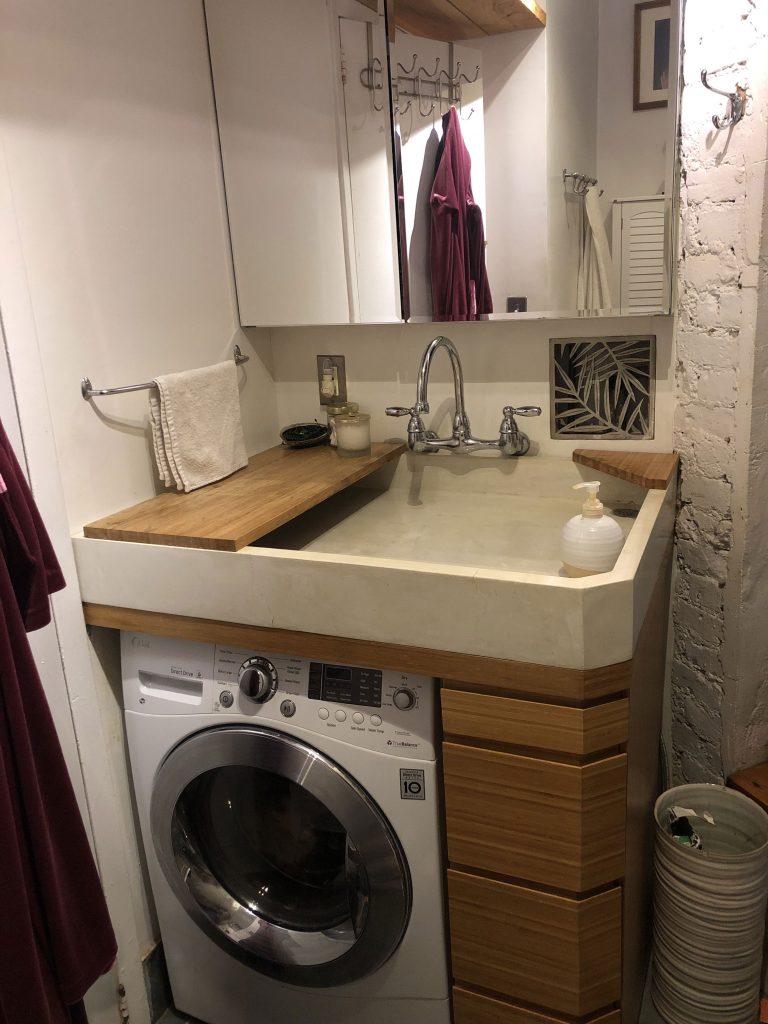
After:
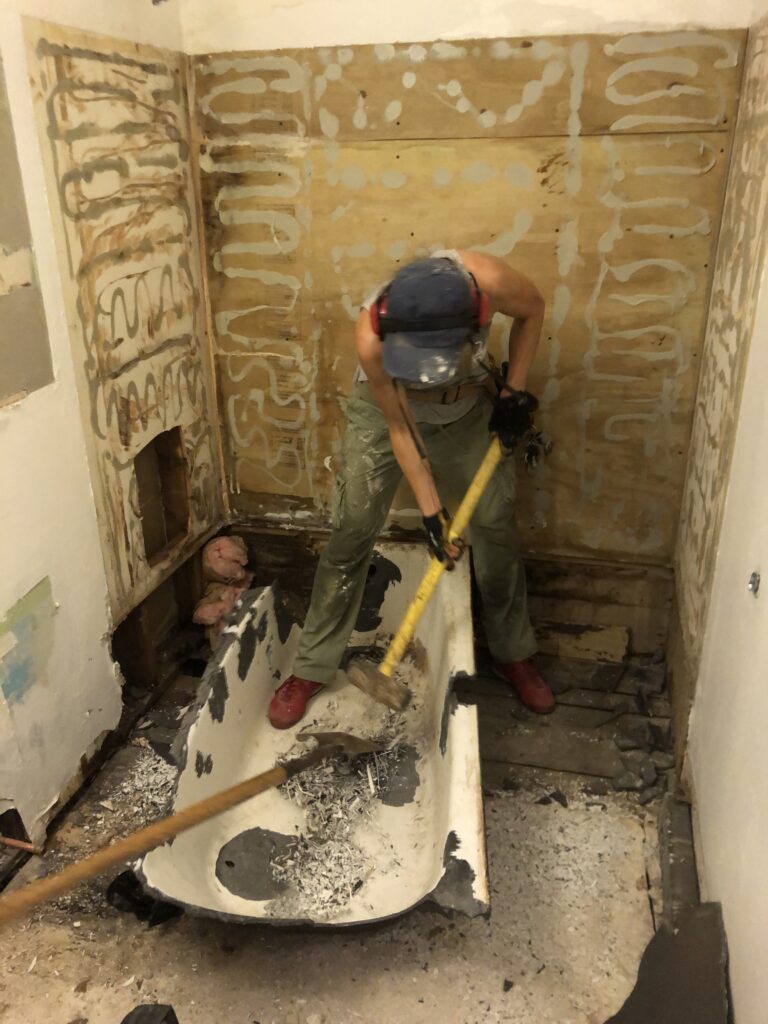
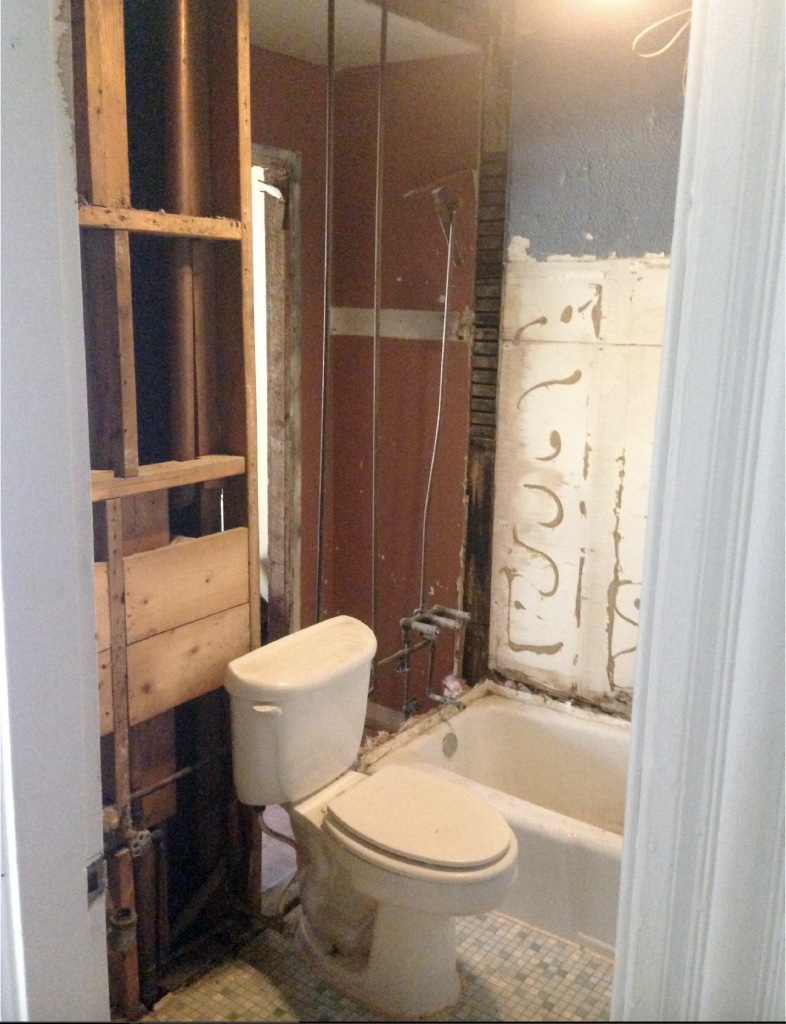
Demolition:
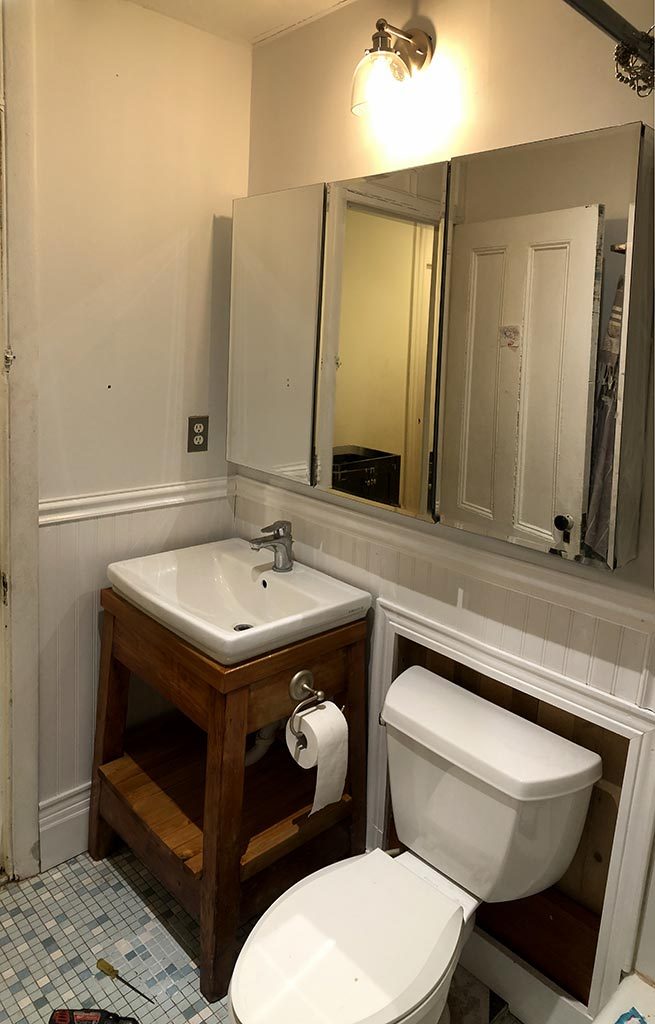
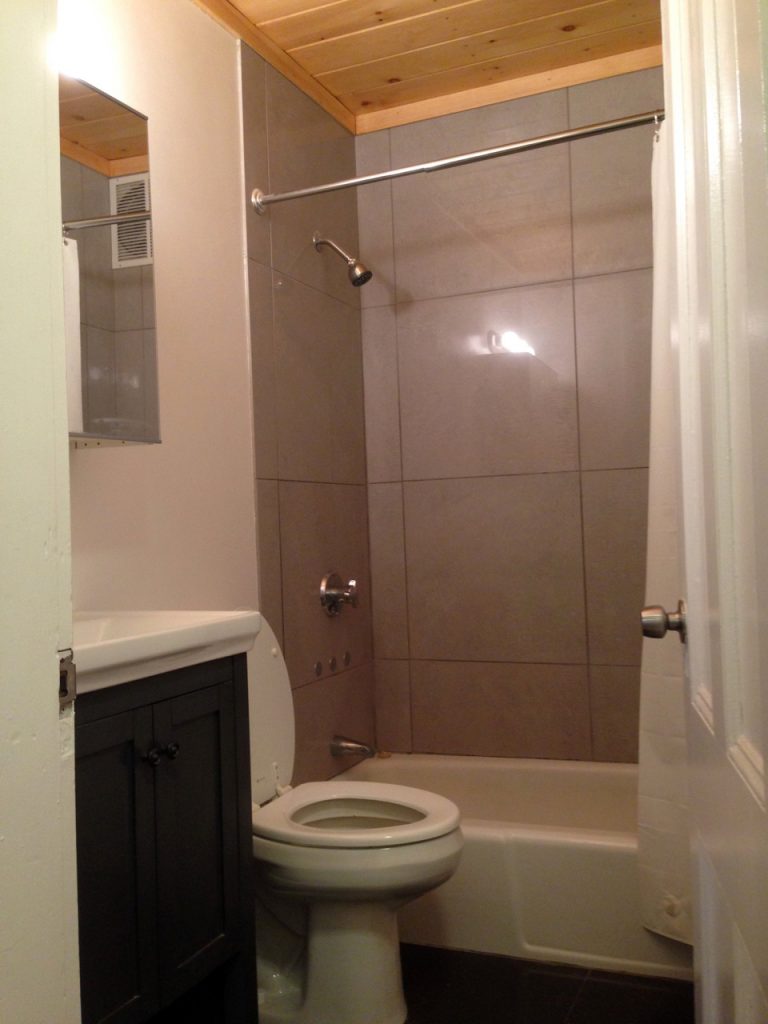
After:
Before:
The most interesting part of this one was the vanity. Based on the square pegs and nails, the thing was easily 100 years old. Stripping off 4 layers of paint revealed a reddish wood that I’m guessing is fir. I built in the shelf and the lip around the top out of poplar, which necessitated a bit of work with stain and polyurethane to get the colors to match.
Read More →How do you fit a washer-dryer into a tiny Manhattan bathroom? Once piece at a time.
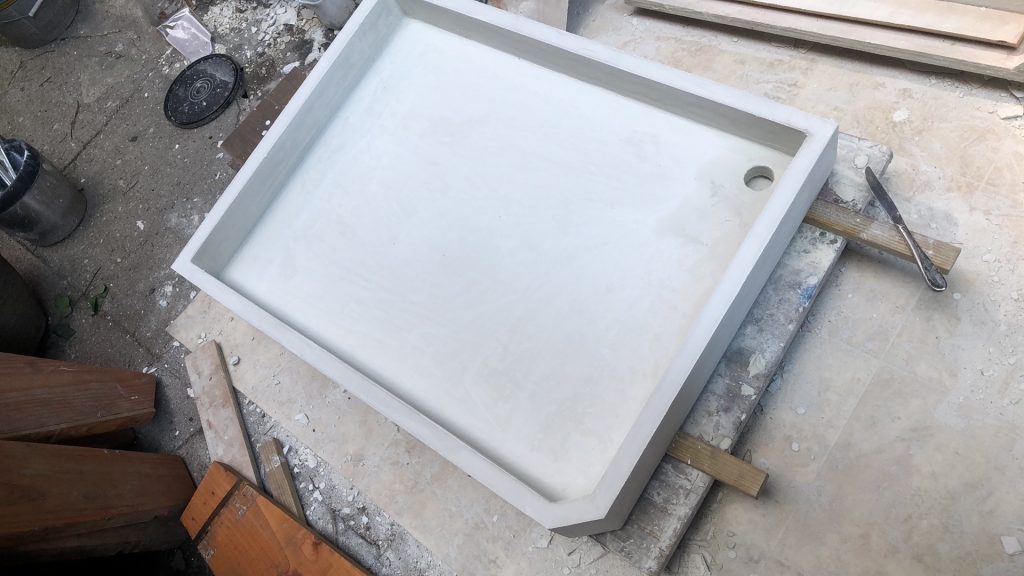
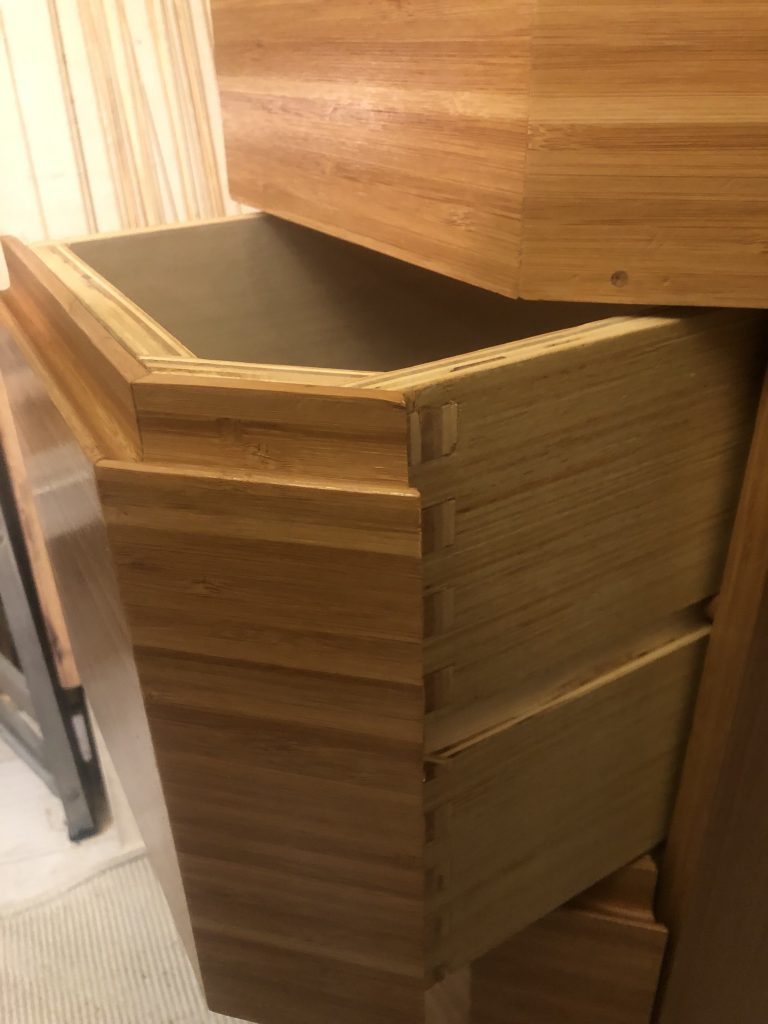
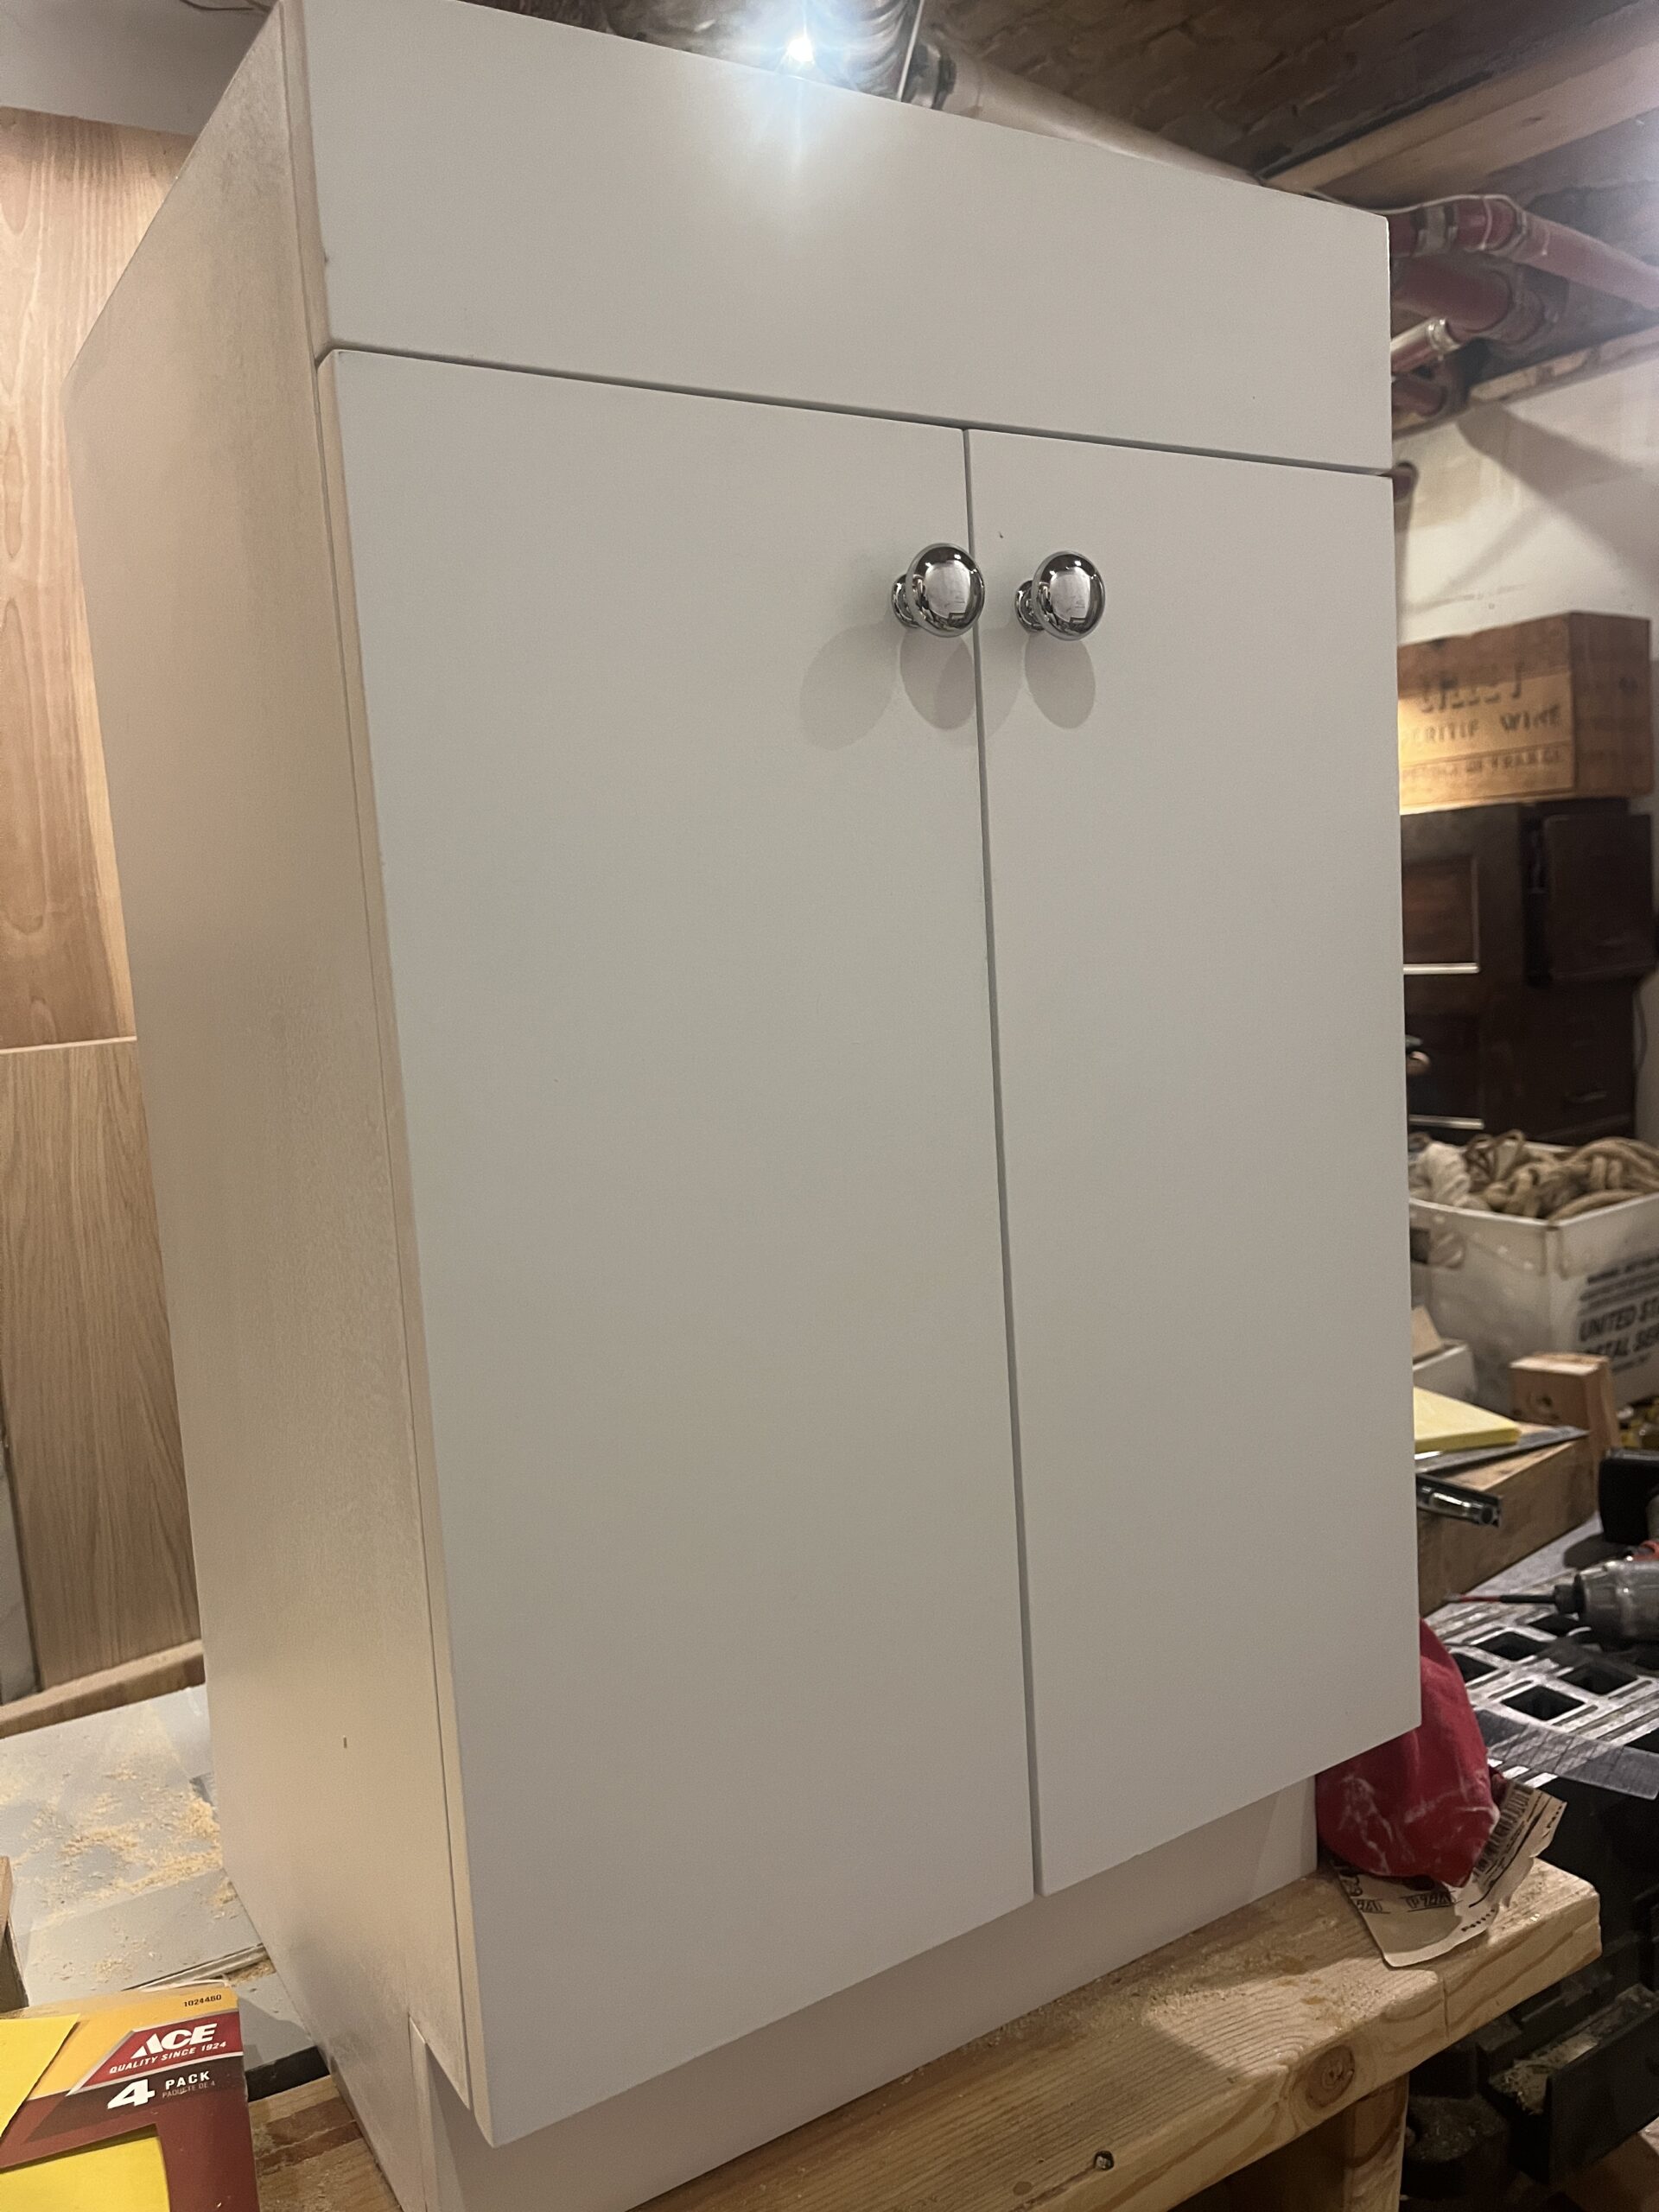
I poured a custom concrete trough sink with the drain in the back corner so as to open up the room for the washer-dryer to fit underneath. Which then necessitated a custom cabinet to match underneath.
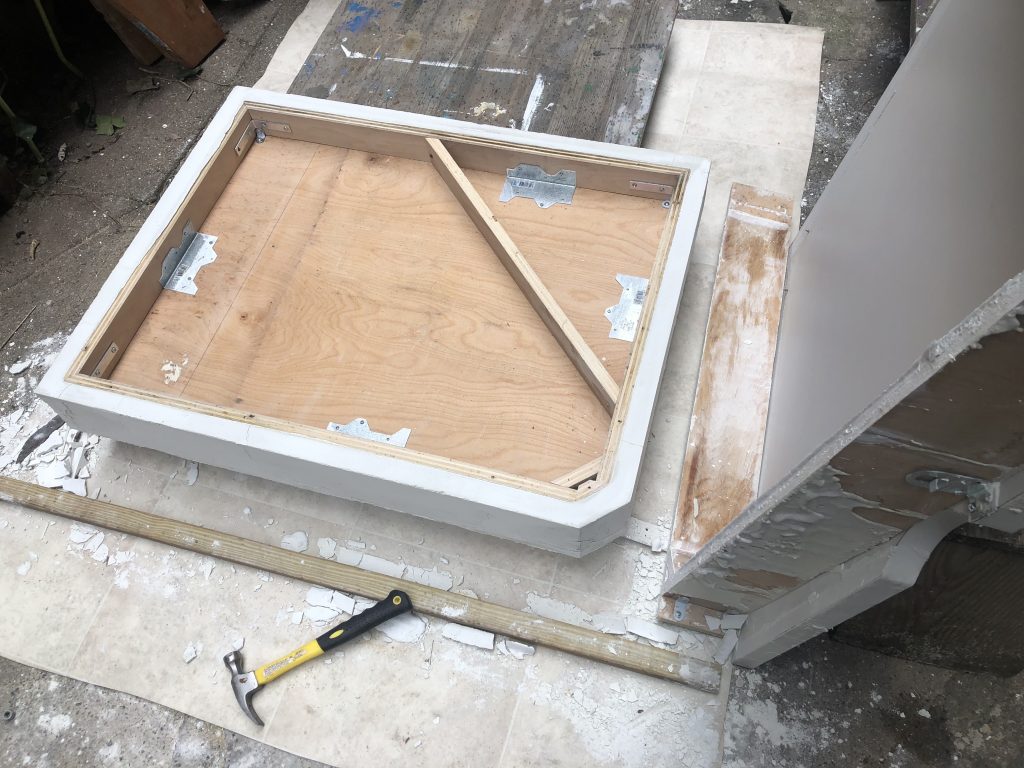
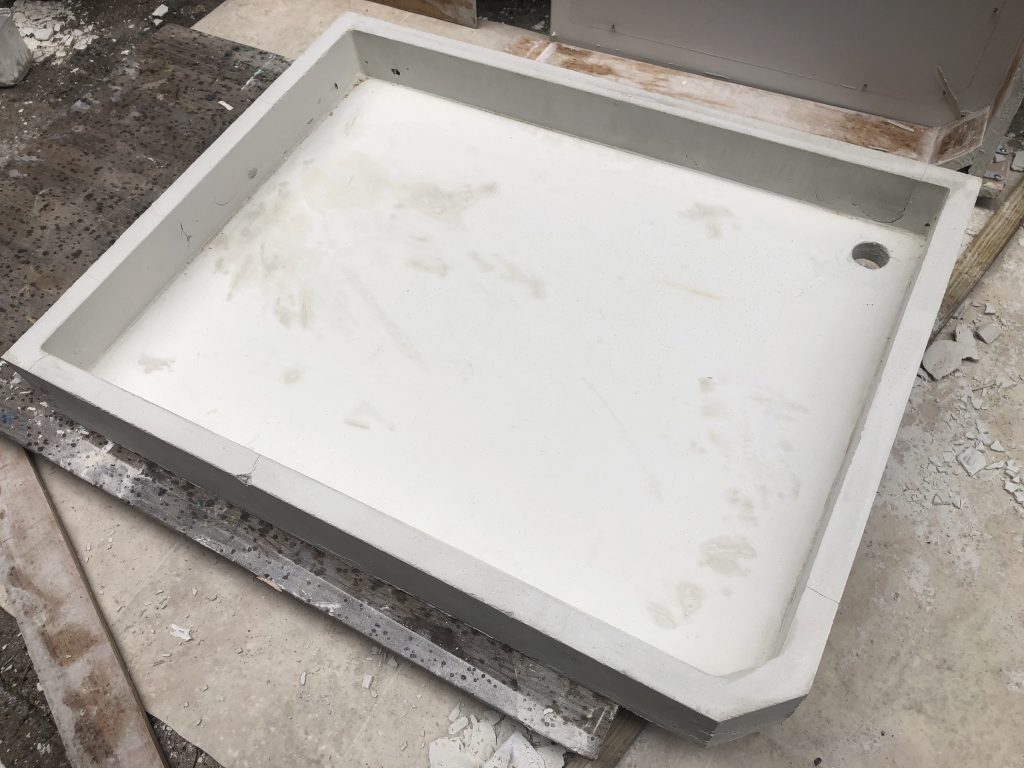
Removing the plywood mold. Concrete mix was white Portland cement with white sand. The trickiest part was cutting things on the angle so the sink would drain properly, and then getting all those subtle angles to line up smoothly.
Patching, sanding, sealing.
Now for the cabinet…
Before:
After:
Years of IT got me used to cleaning up other people’s disasters, and this was yet another project that got me shaking my head and wondering “what were they thinking?” Demolition had been carried out throughout the unit by someone working without drawings, a plan, or timeline before I took over. Luckily there were bathrooms on other floors to use while we worked, but I wondered, why start by demolishing a functioning bathroom? Whether you’re working by yourself around the clock on-site or with a team in shifts, it’s the first necessity, for peeing, washing tools, or showering off a day’s worth of fiberglass insulation. This is a big reason I work in chunked phases, even within a single room — the wheels of production grind faster overall when one isolates and minimizes the functional downtime of each room and fixture.
Engineered stone tile on floor and walls, pine ceiling, replaced ventilation fan, sink/vanity, bath fixtures.
Proudly powered by WordPress | Theme: Baskerville 2 by Anders Noren.