This has been kicking around in my head since a gig where I had to piece together lumber for an arched window.
In this example the curve is bisected into 4 segments. Each partial curve will get it’s own trapezoid of material. You can use trigonometry to find the dimensions of these trapezoids based on your inner and outer curve radius.
In Figure 1, each trapezoid is a piece of an isosceles triangle. Slicing this triangle in half renders two right triangles. We can use one of these triangles to find the dimensions of our trapezoid.
Figure 2 is a close up of this right triangle, which we’ll call T (uppercase). The negative space, in white, is a smaller, congruent triangle, which we’ll call t (lowercase). The legs of both triangles are labeled opposite, adjacent, and hypotenuse.
r1 = inner radius
r2 = outer radius
m1 = inner margin
m2 = outer margin
a1 = adjacent leg (small triangle)
a2 = adjacent leg (large triangle)
o1 = opposite leg (small triangle)
o2 = opposite leg (large triangle)
h1 = hypotenuse (small triangle)
h2 = hypotenuse (large triangle)
CALCULATE L1:
Given the following:L1 = 2 * o1
sin (x) = o1 / h1
h1 = r1 – m1
x = π / 8
Therefore:
L1 = 2 * sin (π / 8) * (r1 – m1)
CALCULATE L2:
Given the following:L2 = 2 * o2
tan (x) = o2 / a2
a2 = r2 + m2
x = π / 8
Therefore:
L2 = 2 * tan (π / 8) * (r2 + m2)
CALCULATE H:
Given the following:H = a2 – a1
a2 = r2 + m2
cos (x) = a1 / h1
h1 = r1 – m1
x = π / 8
Therefore:
H = r2 + m2 – cos (π / 8) * (r1 – m1)
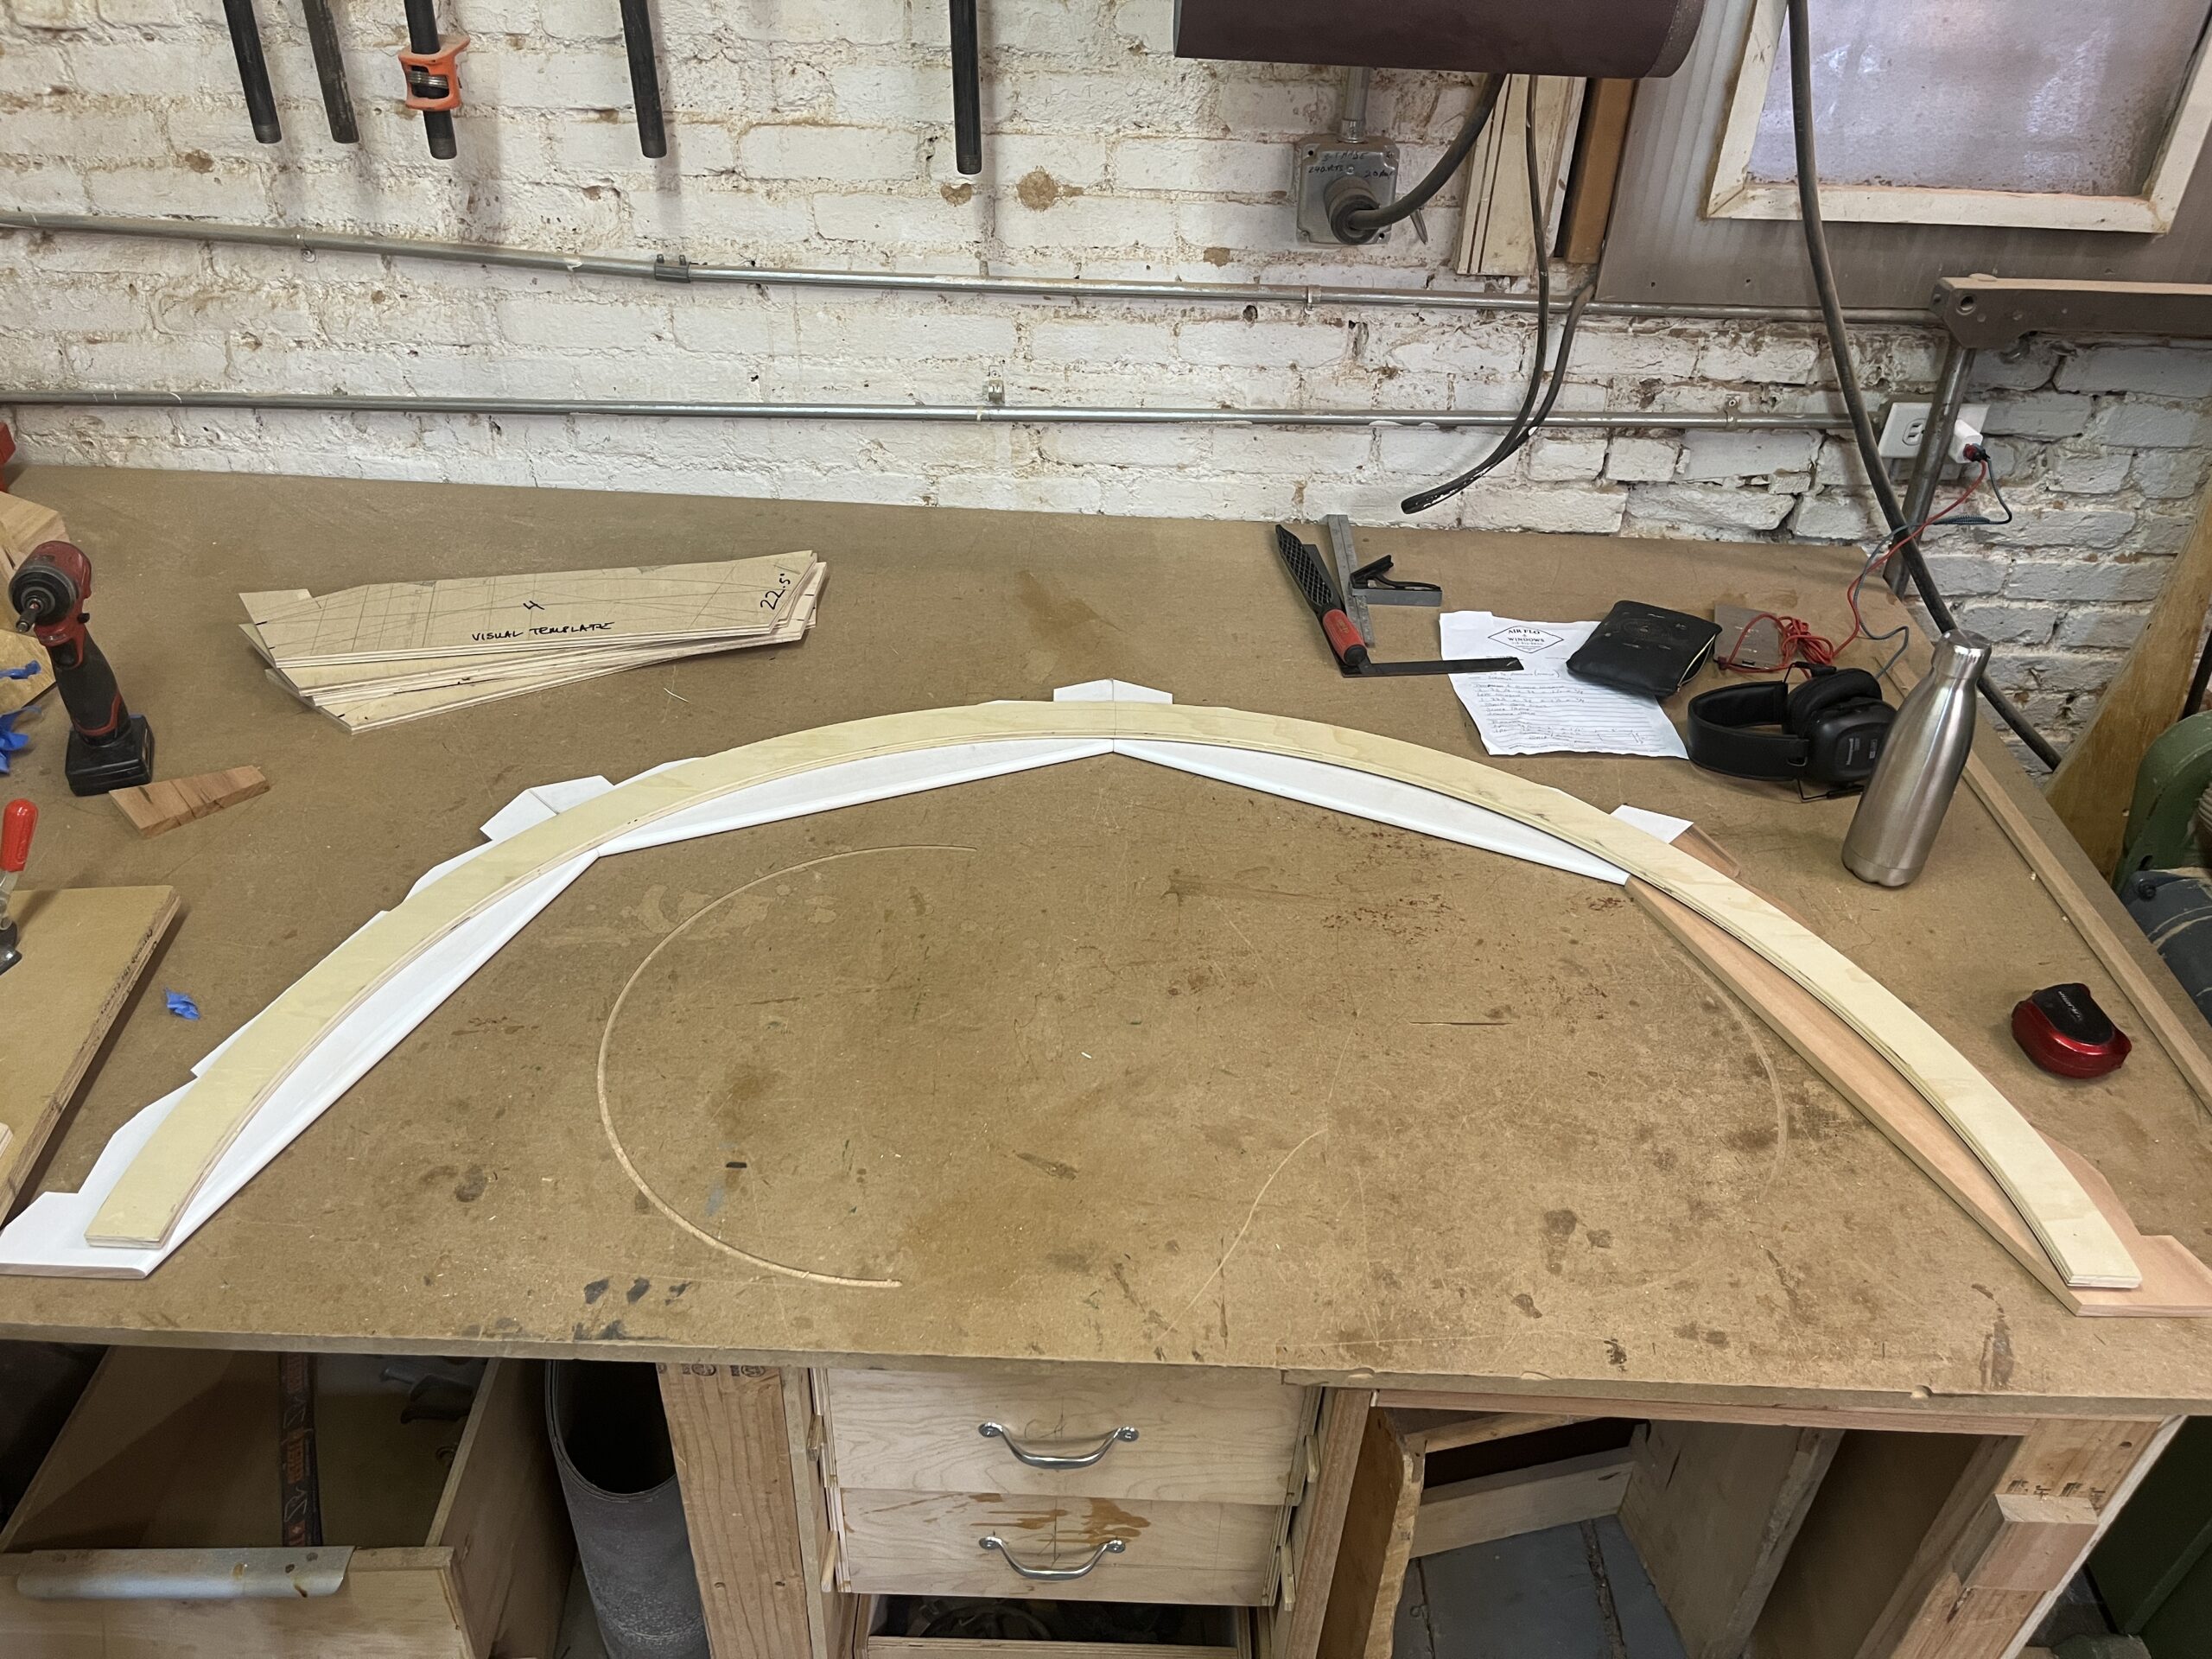
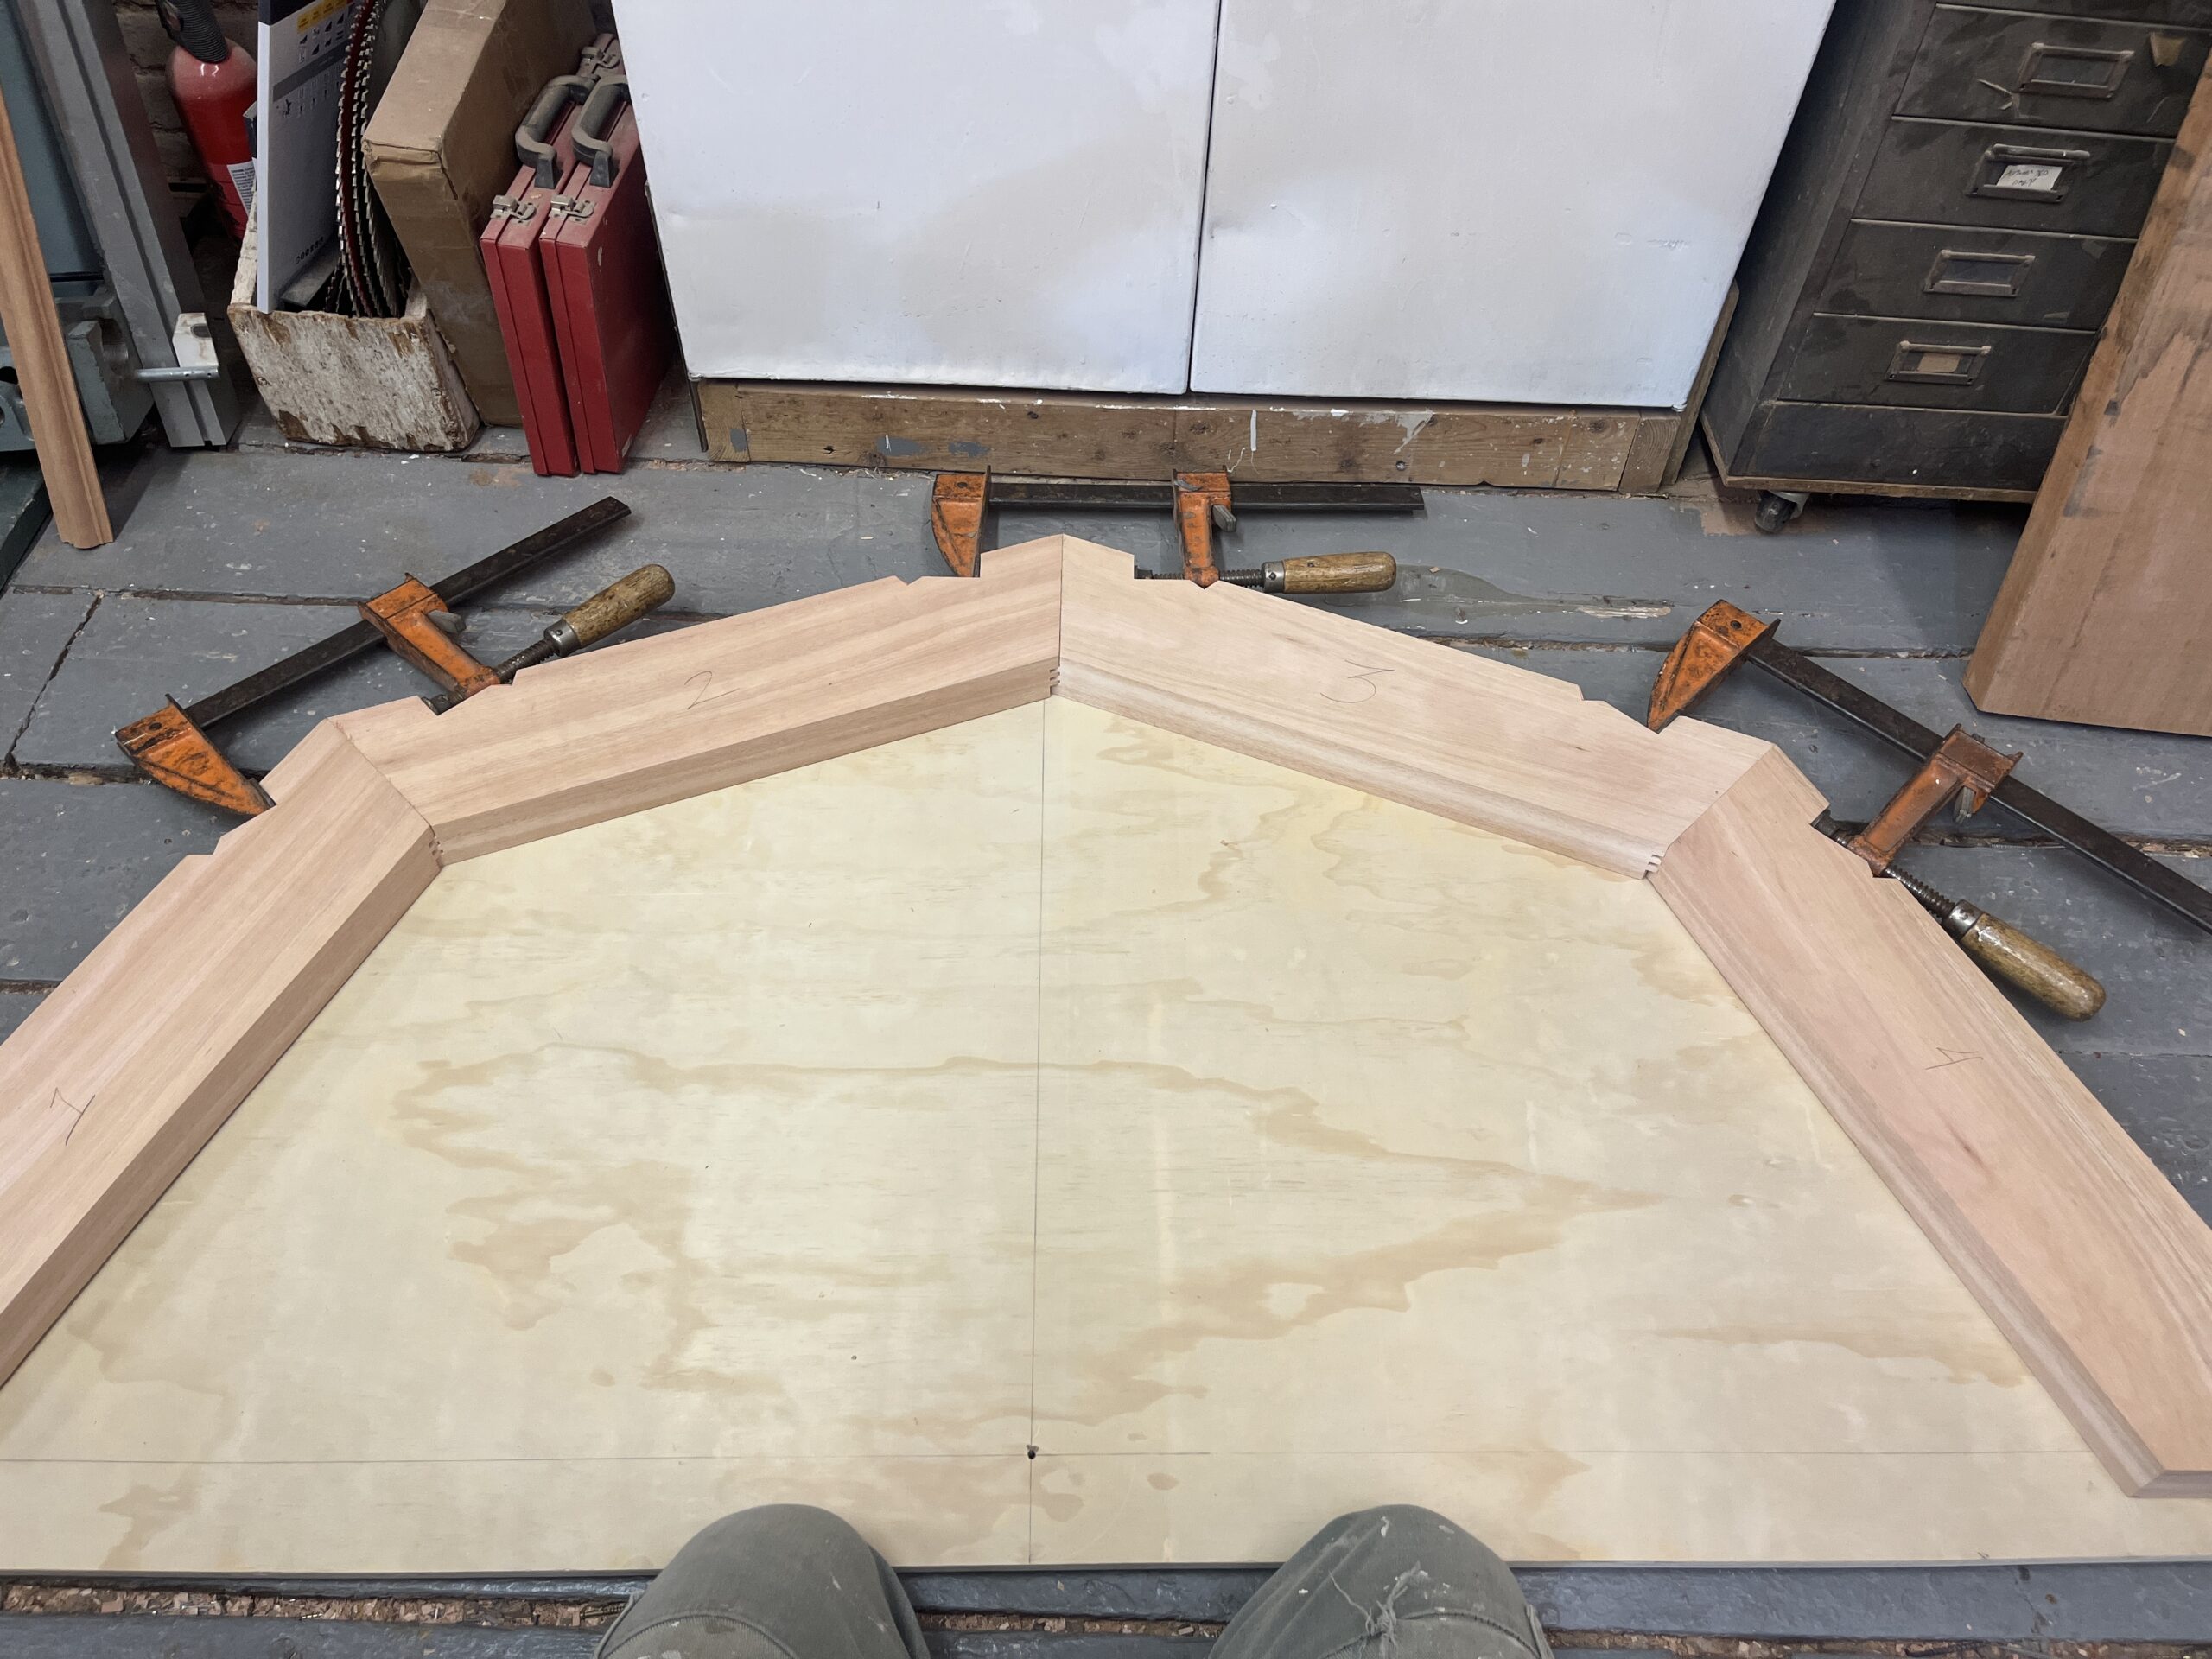
For the rails in the above photo I needed to add the finger joint depth to the length (L1 & L2) of each trapezoid. For very thin material that might be a half lap, so depending on your clamping plans, you may need notches in the outer material. Take this into account when determining how much you want your margins to extend inside and outside your window curve. Unfortunately I didn’t get a photo of the final window, but that’s not really the point of this post – the point is to automate some of your materials calculation if you’re doing a lot of these.
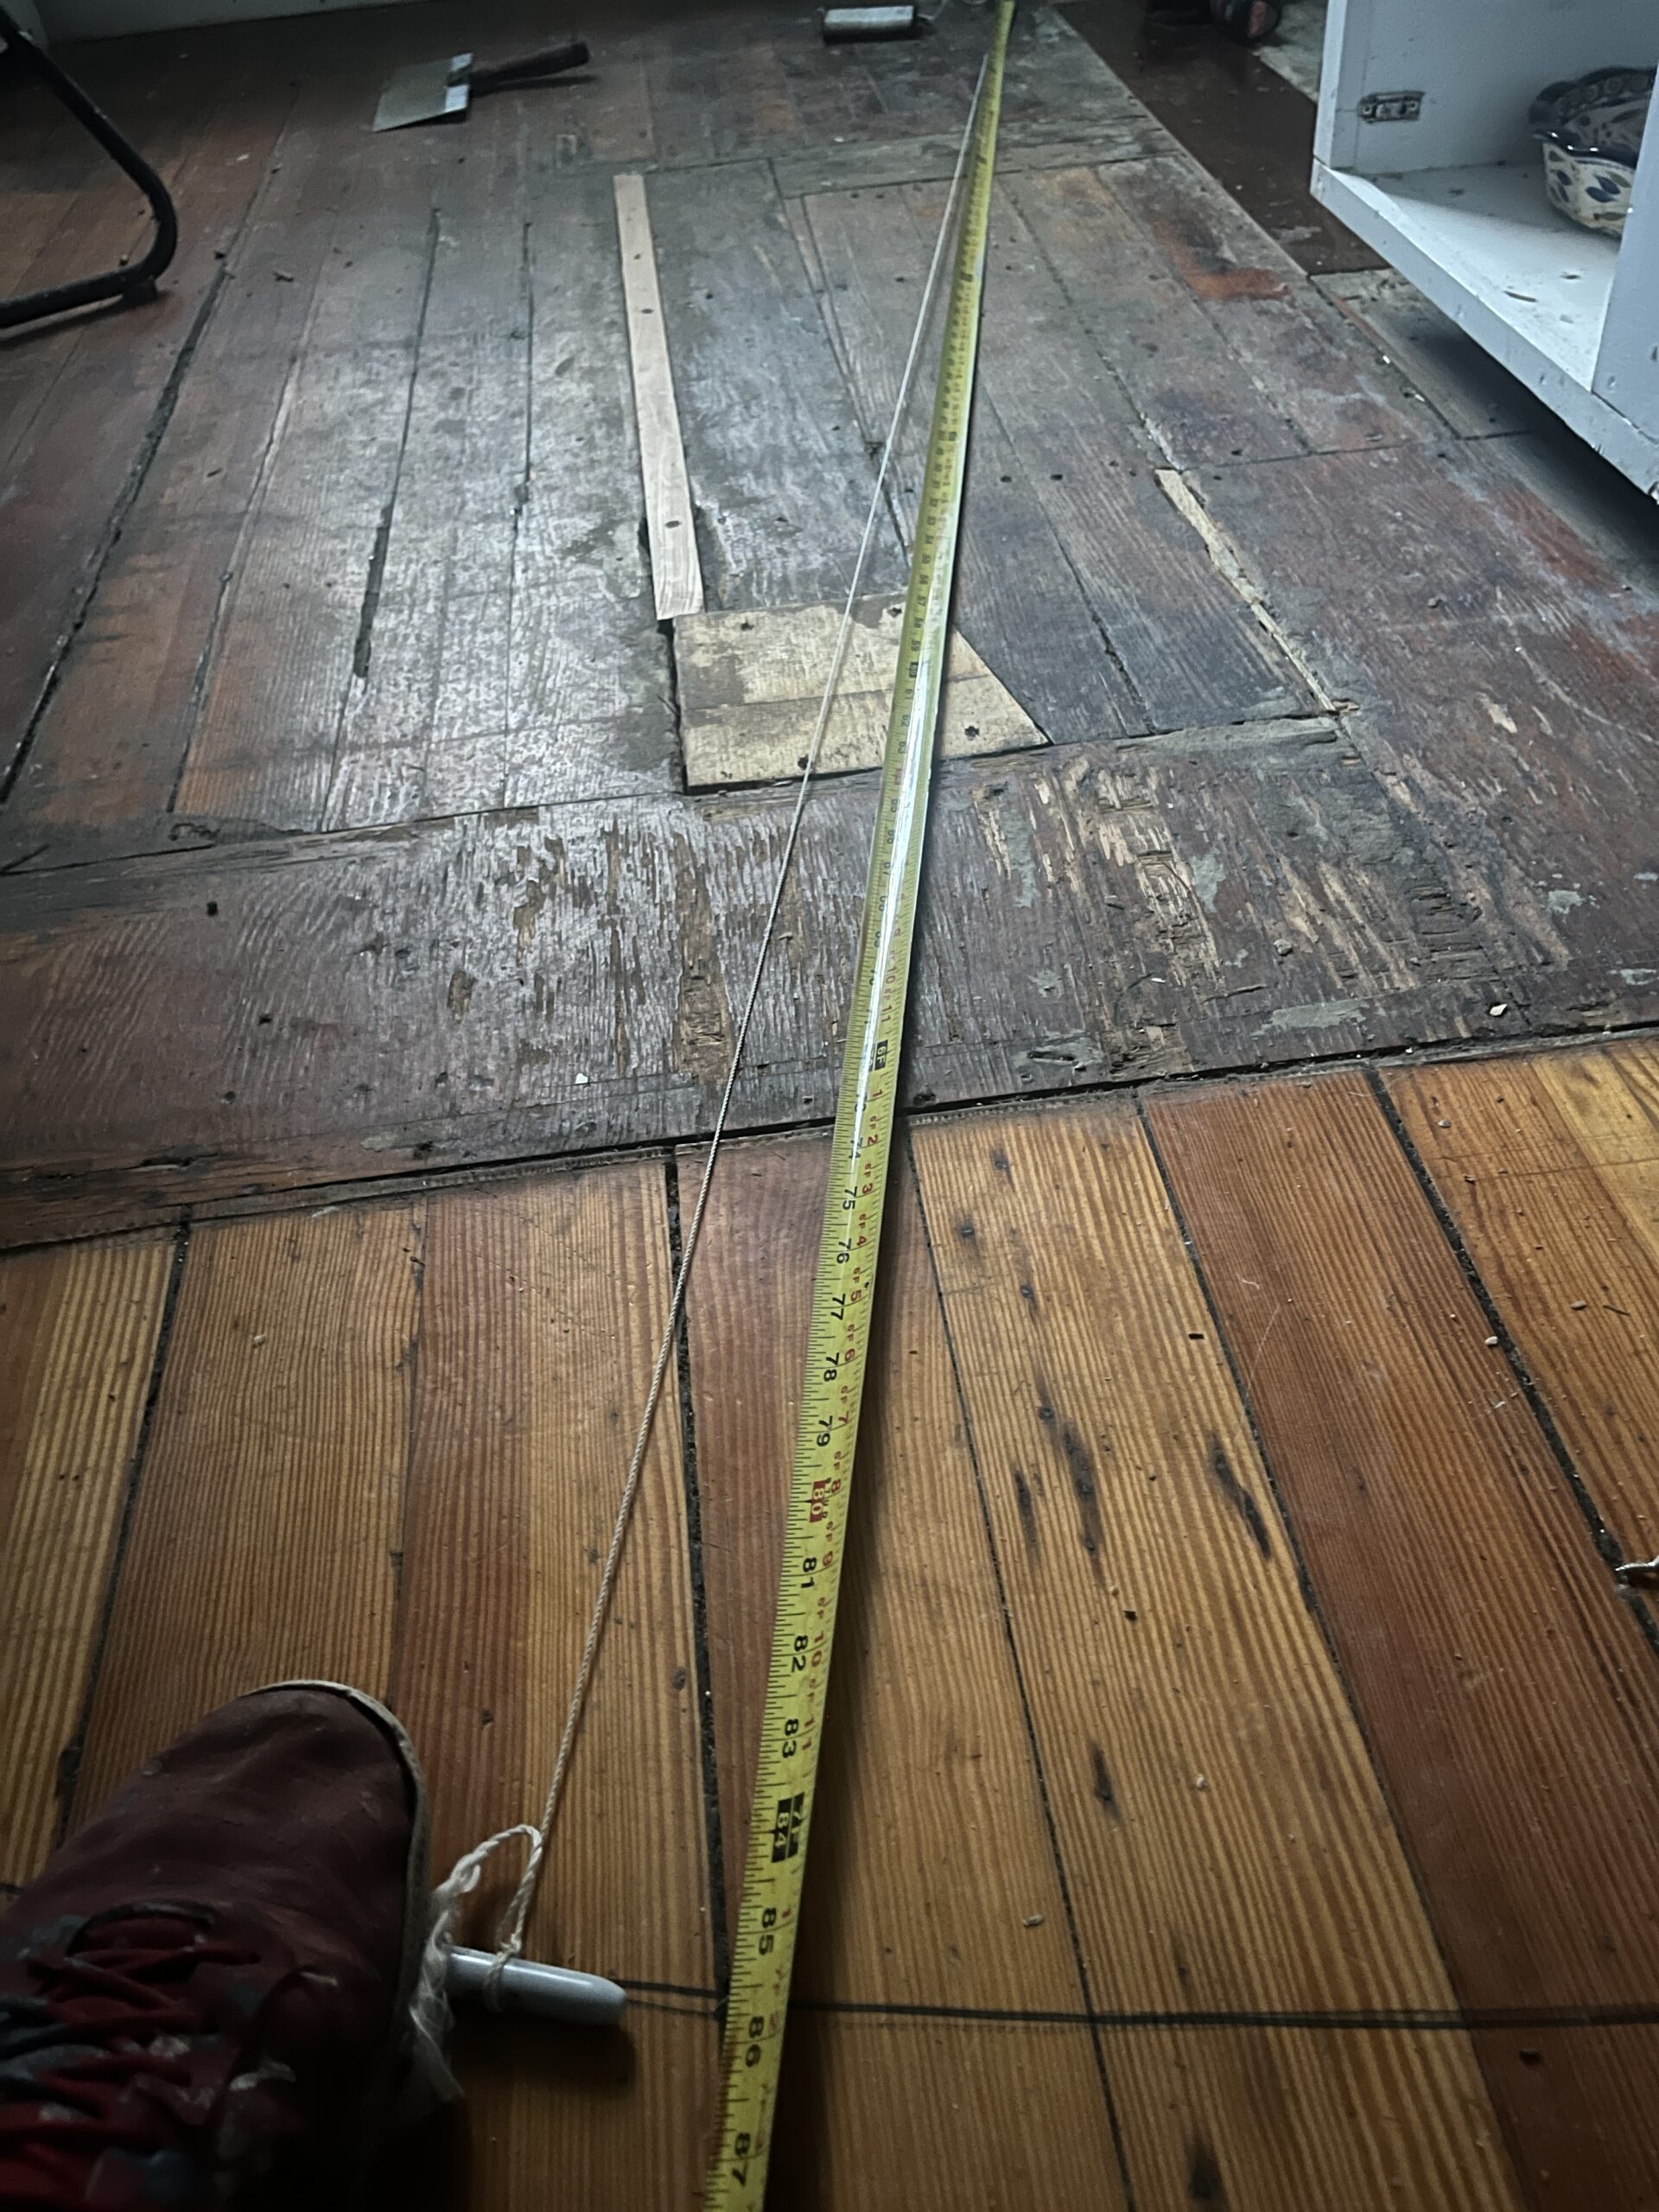
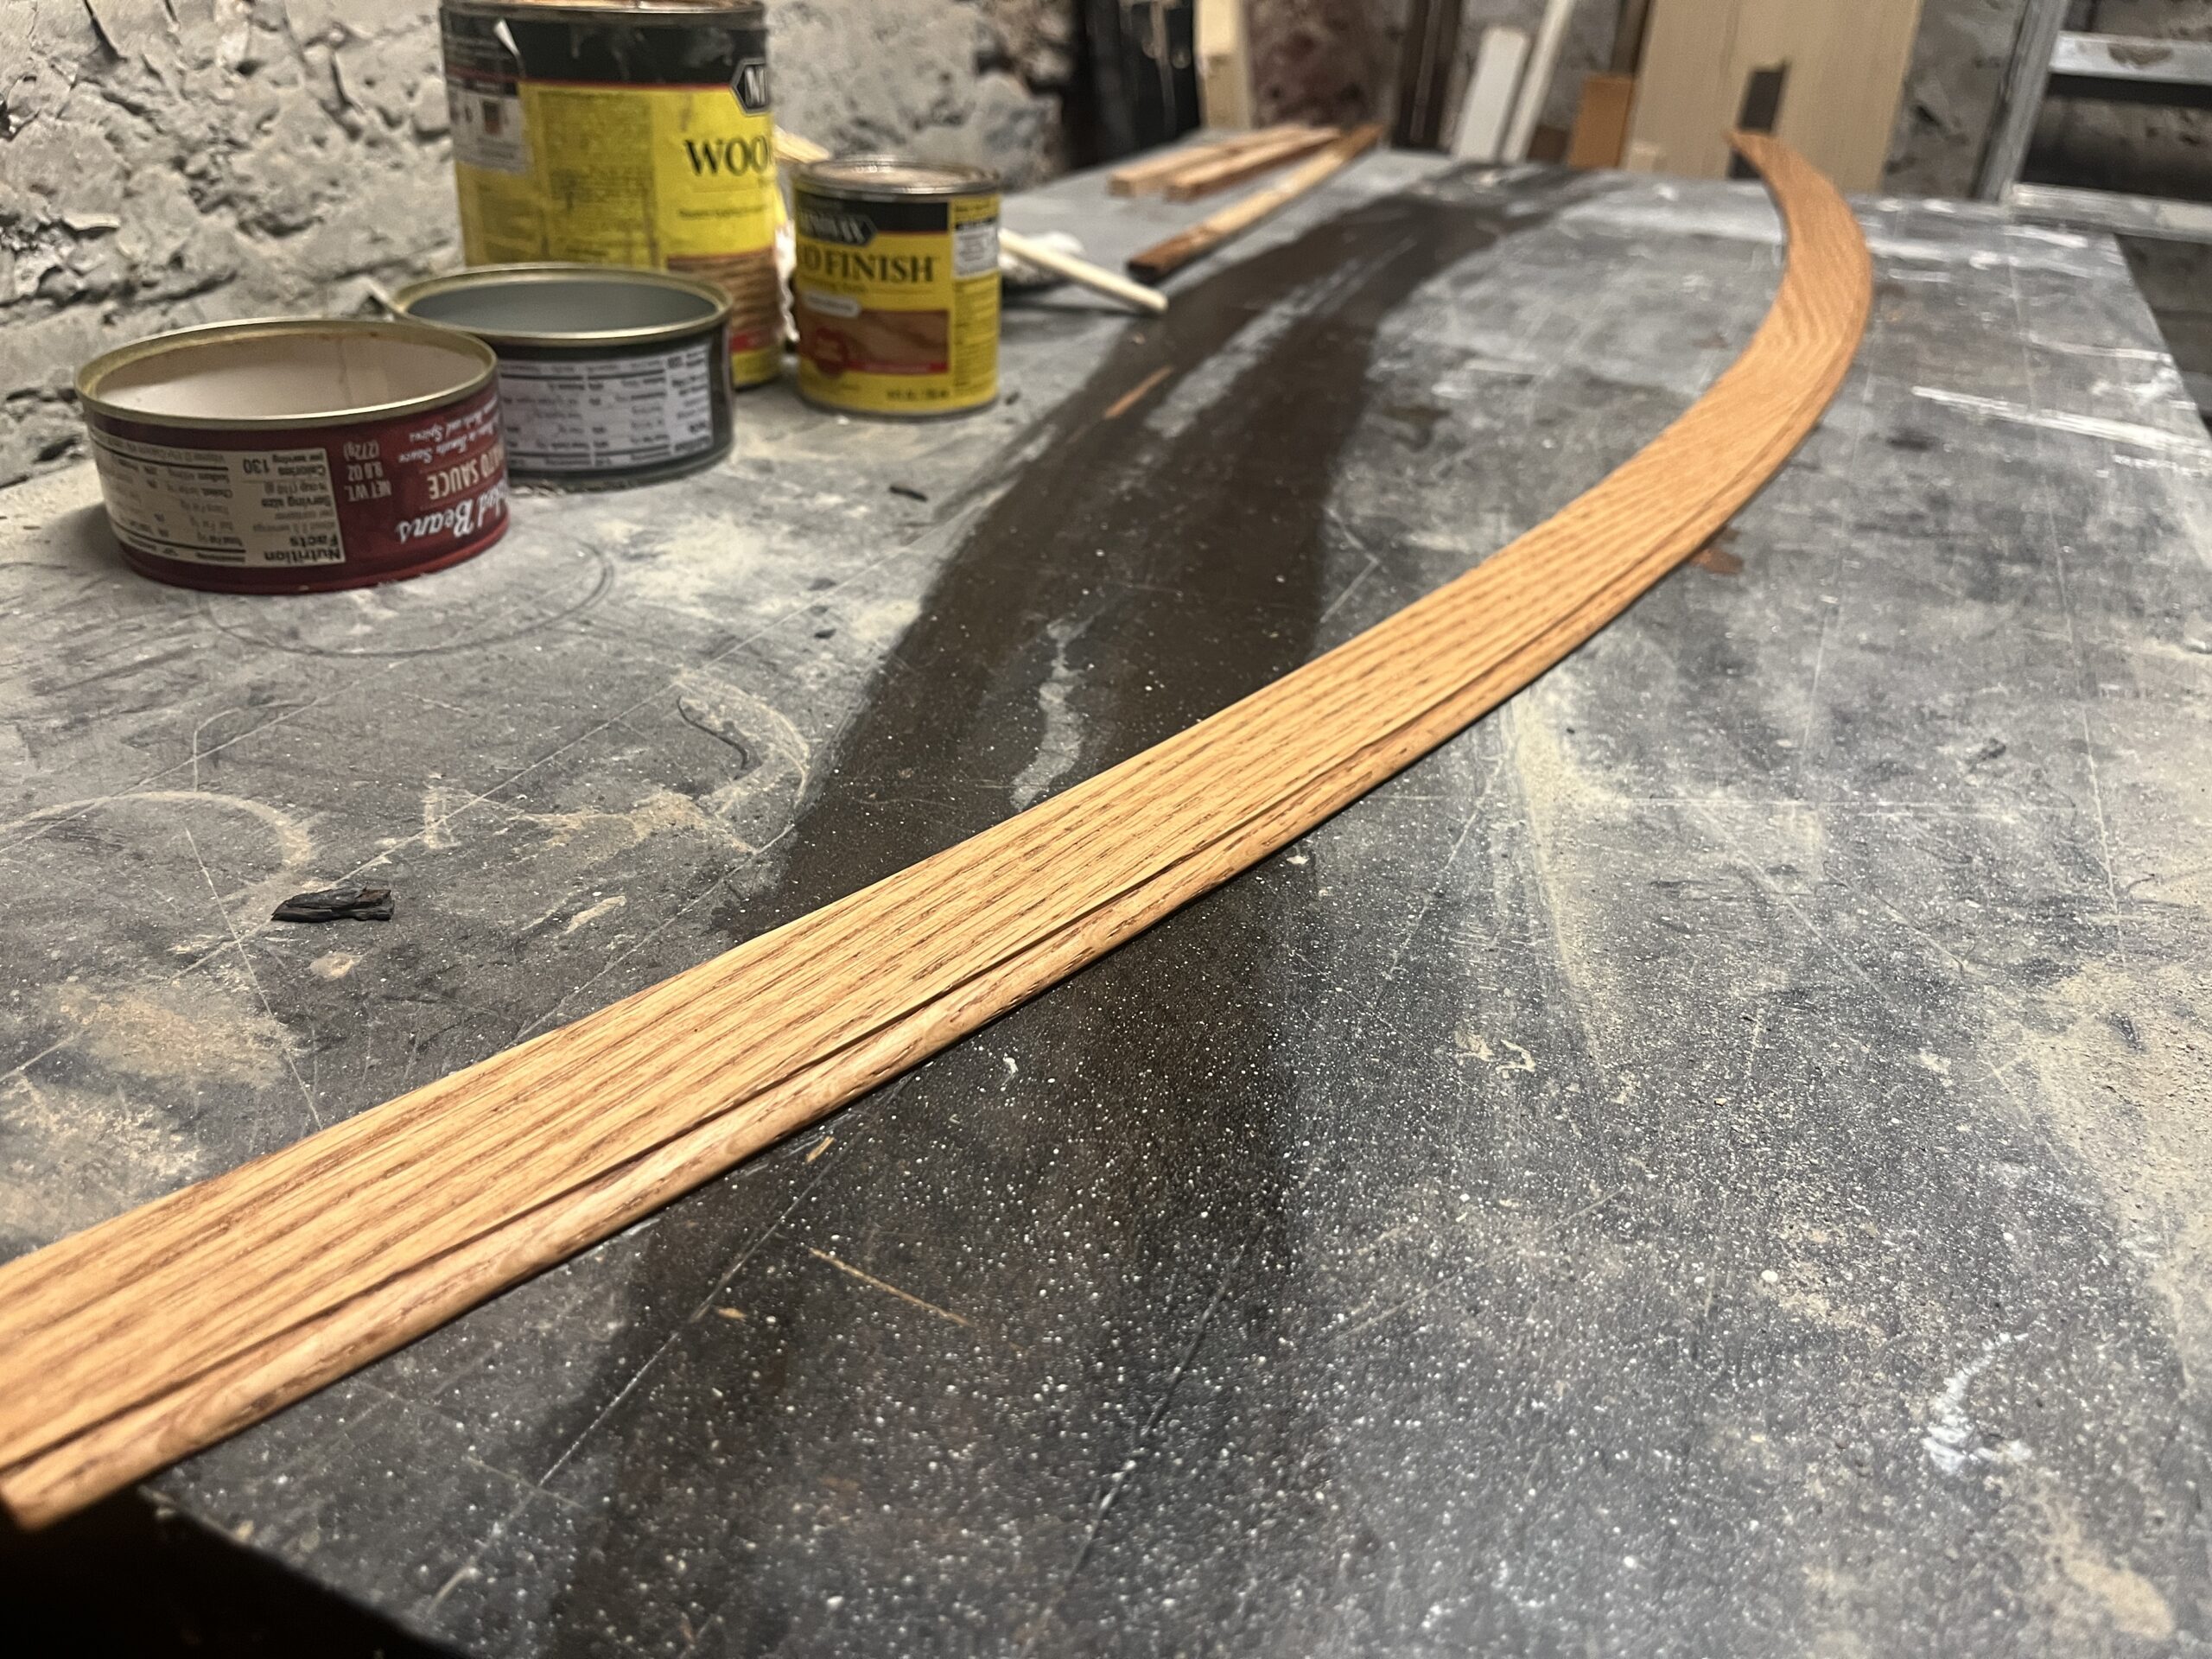
Now, how to cut your curve? At this particular shop the method was to first cut a template using a router on a guide, mark the final lumber using that template, and then freehand with the bandsaw. Personally I try to avoid freehanding curves (or pretty much anything else). There’s too much potential for error and you save a lot of sanding correction by going into the final wood with a router on a radius guide. Which you can do by anchoring your pieced arch and your router guide to a backerboard. The video below is where I rigged up an pivot on the wall because I was really short on space and needed to make a reducer strip with an 86″ radius curve for a flooring job.
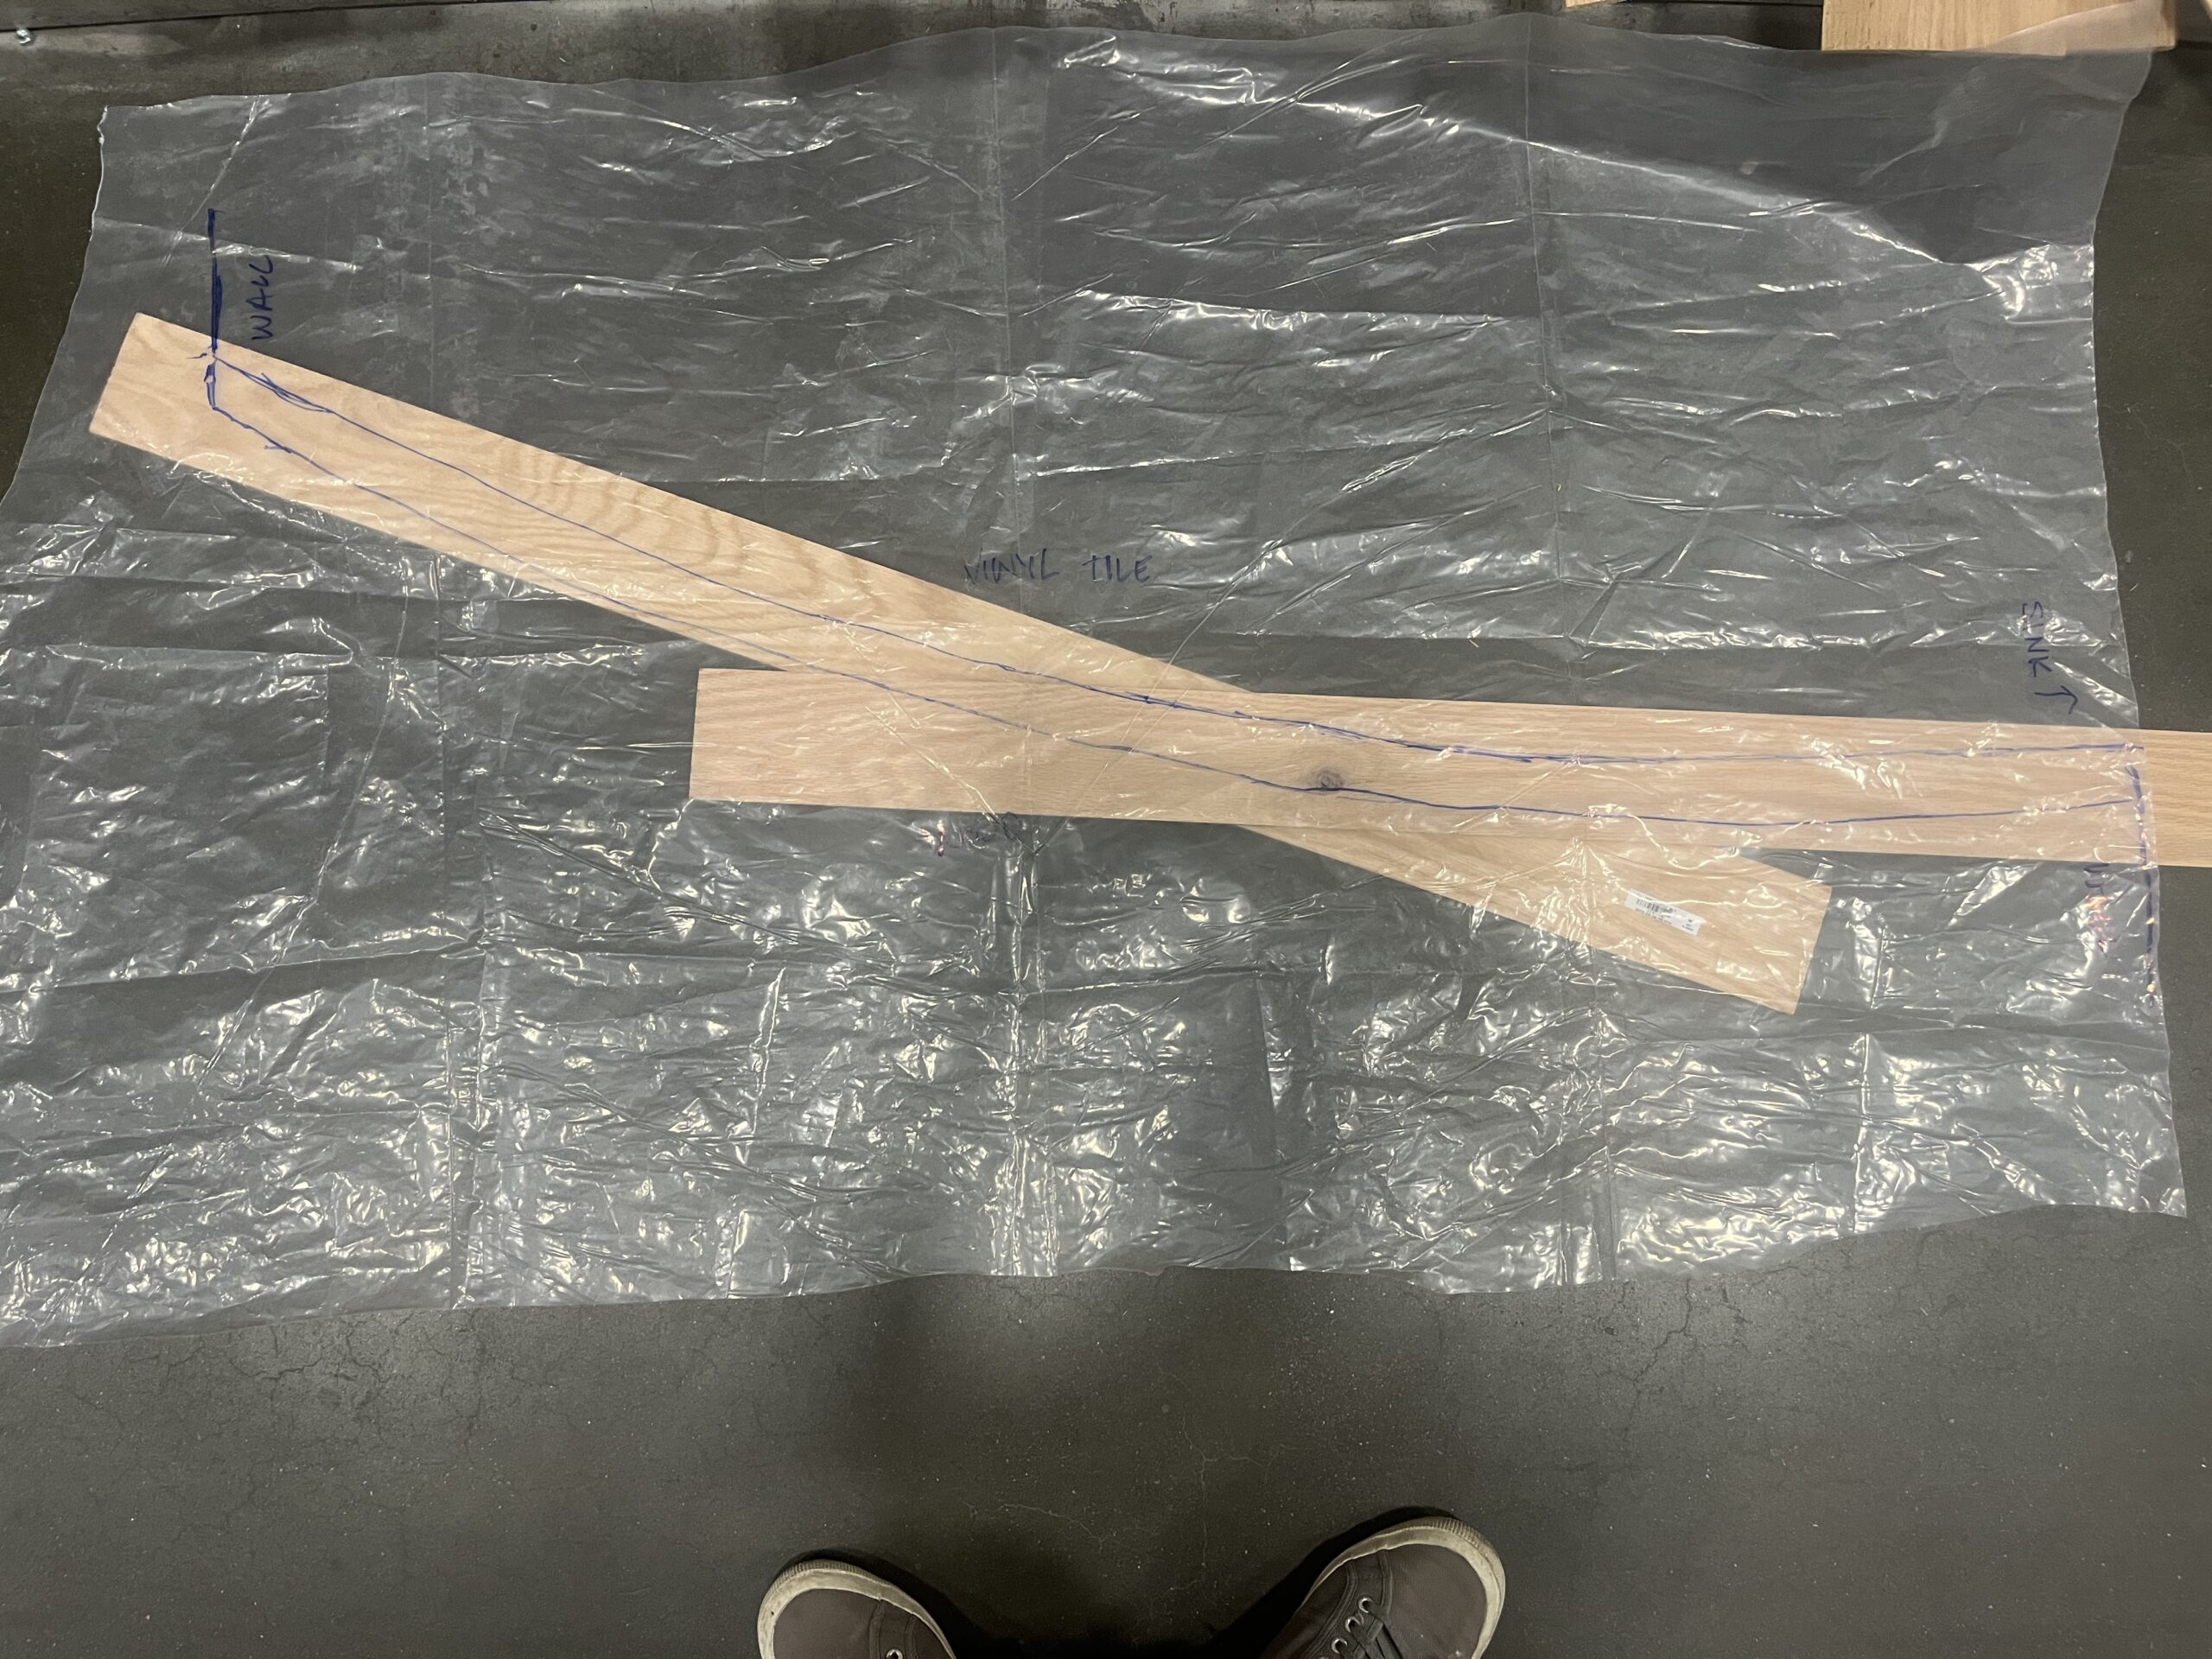
This was a one-off case where there’s less math and more eyeballing. I used a nail and a string tied to a sharpie to figure out the correct curve radius.