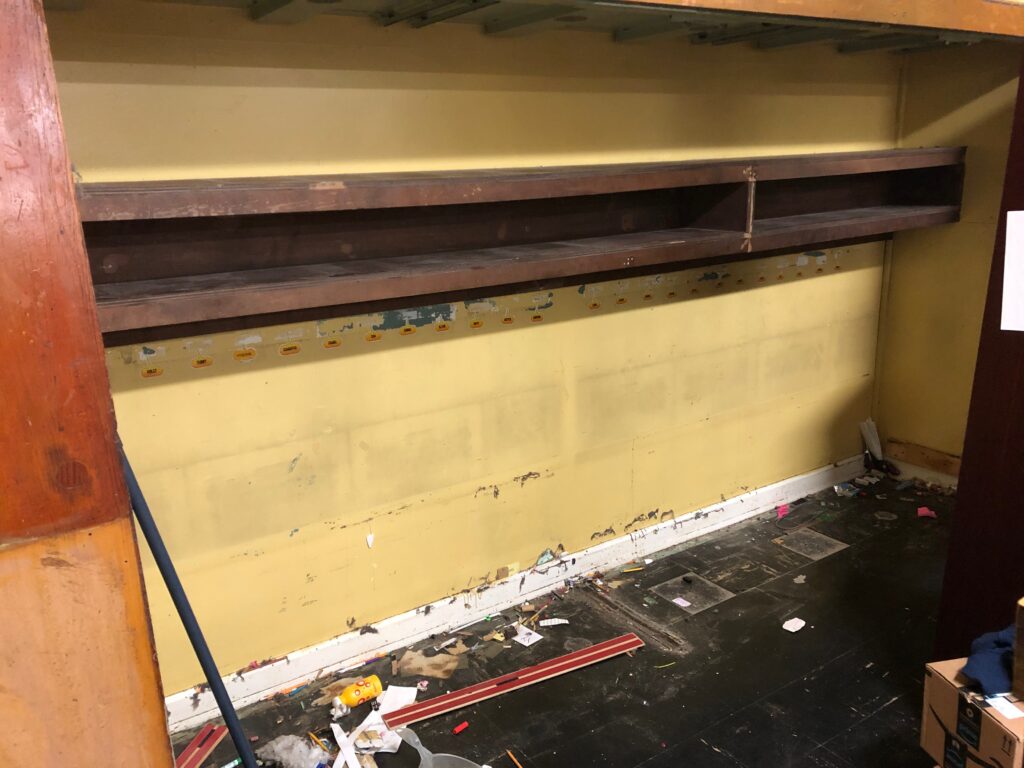
This has been kicking around in my head since a gig where I had to piece together lumber for an arched window.
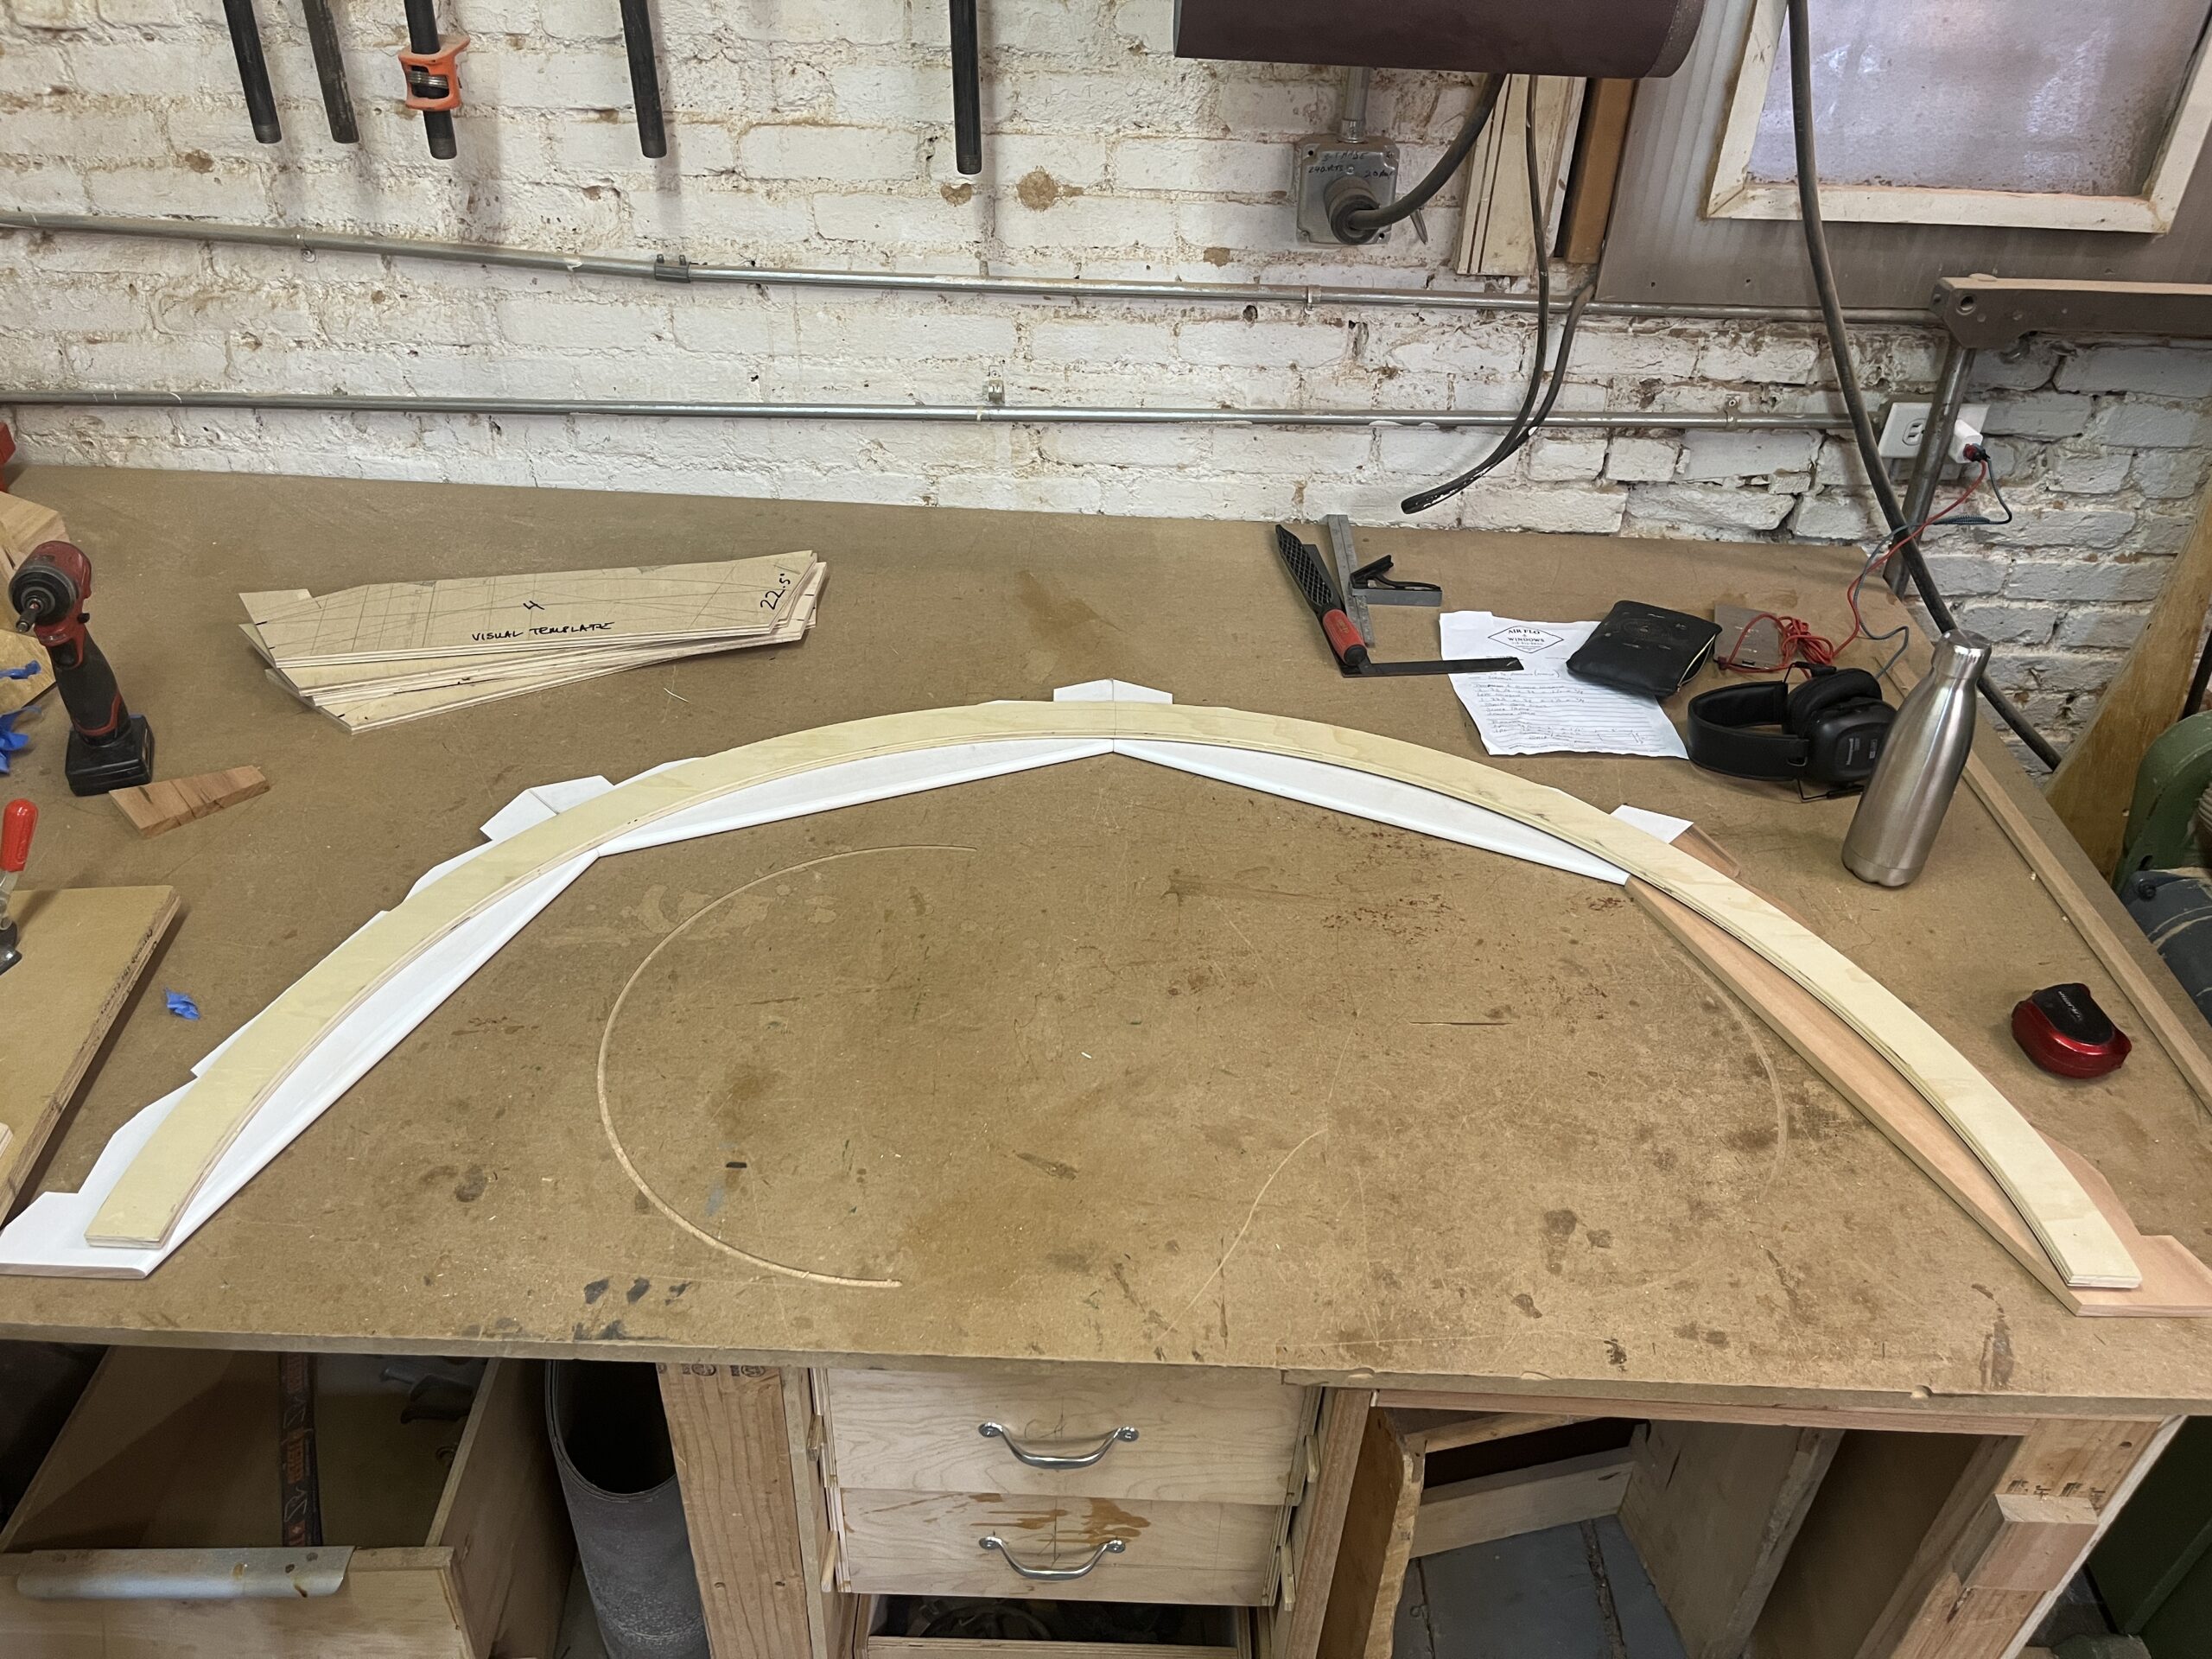
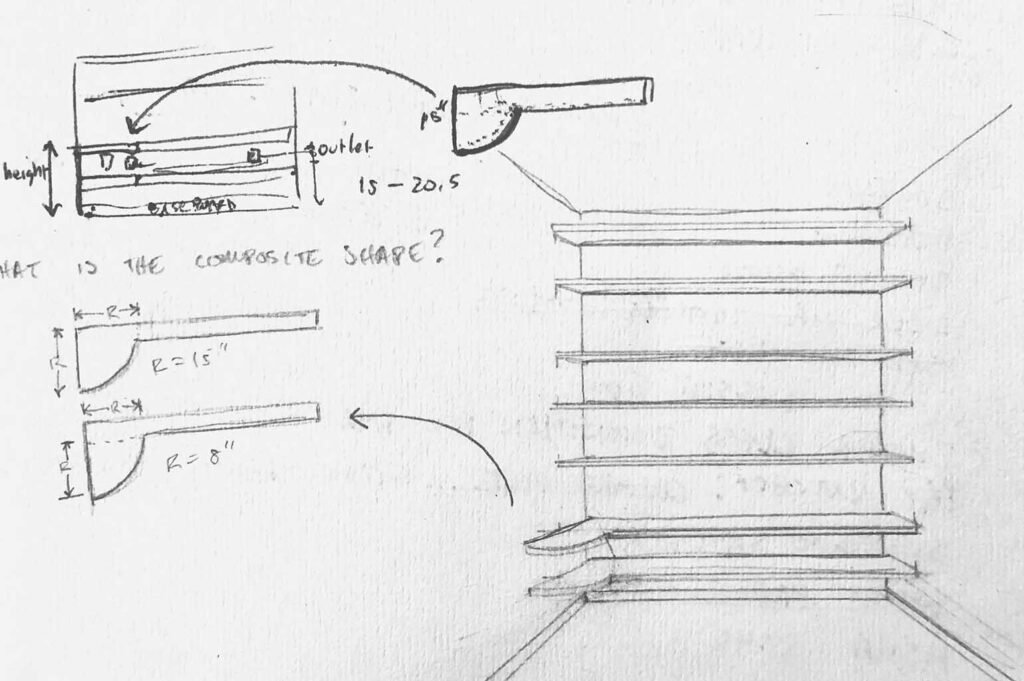
In this example the curve is bisected into 4 segments. Each partial curve will get it’s own trapezoid of material. You can use trigonometry to find the dimensions of these trapezoids based on your inner and outer curve radius.
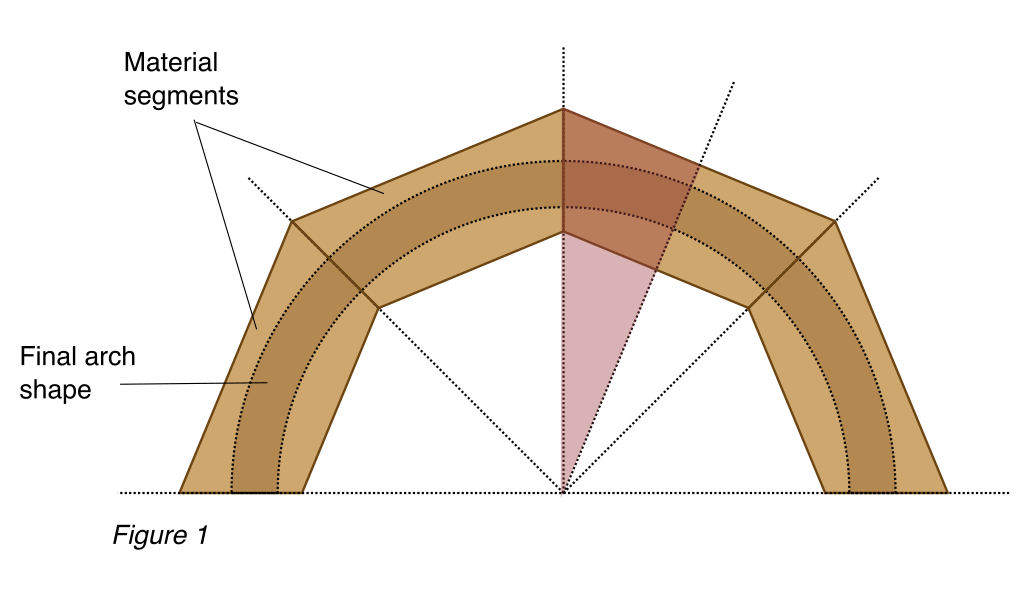
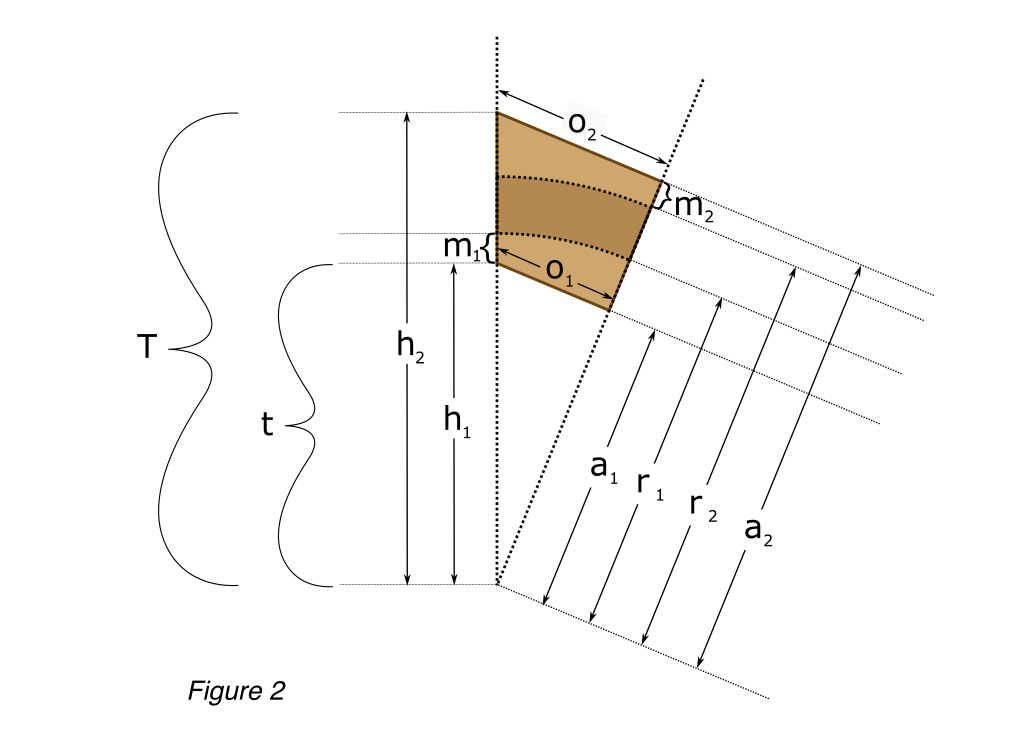
In Figure 1, each trapezoid is a piece of an isosceles triangle. Slicing this triangle in half renders two right triangles. We can use one of these triangles to find the dimensions of our trapezoid.
 Read More →